Jaguar XJ (X350). Service manual — part 693
6 . NOTE:
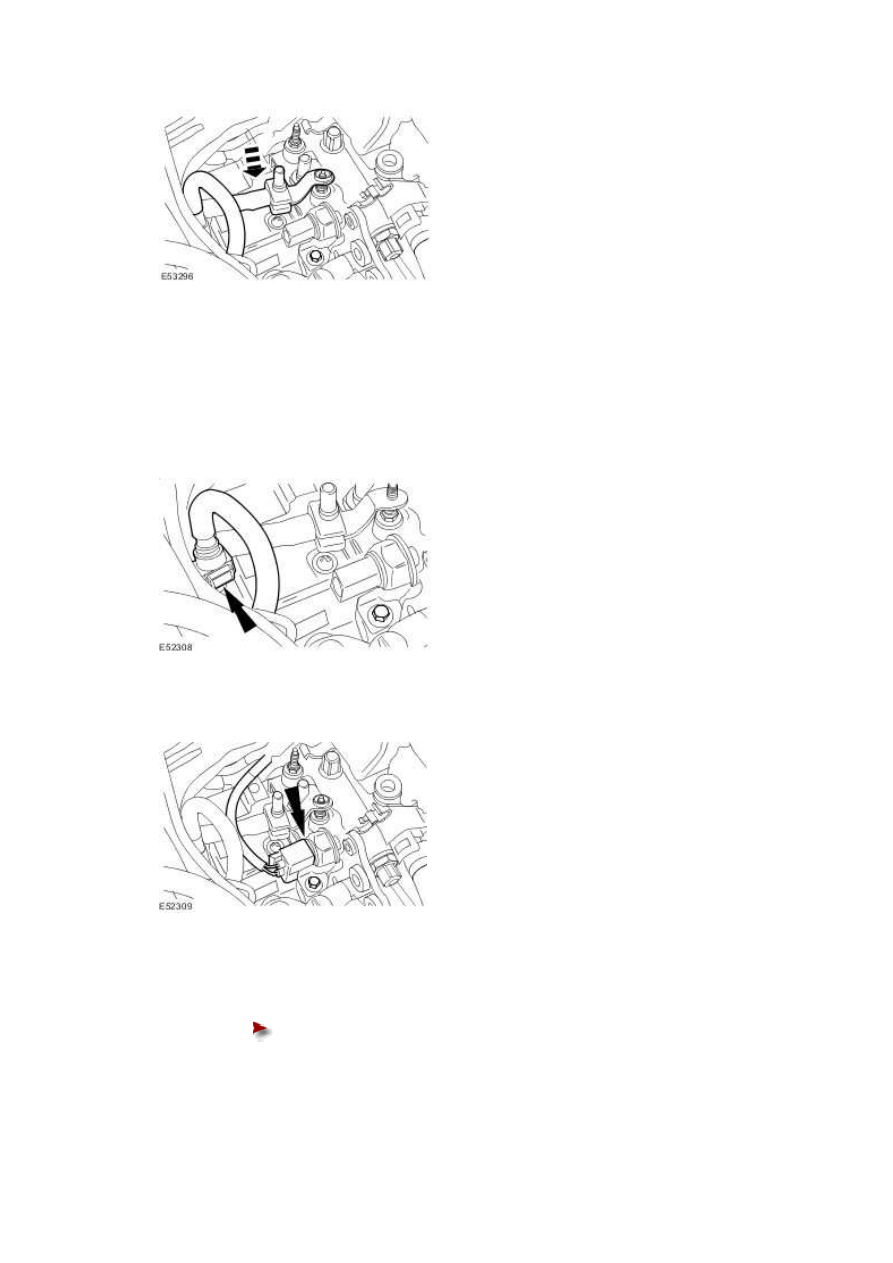
Remove the blanking caps.
Connect the low-pressure fuel line.
7 . Connect the FRP sensor electrical connector.
8 . Install the low-pressure fuel line retaining nut.
Tighten to 7 Nm.
9
.
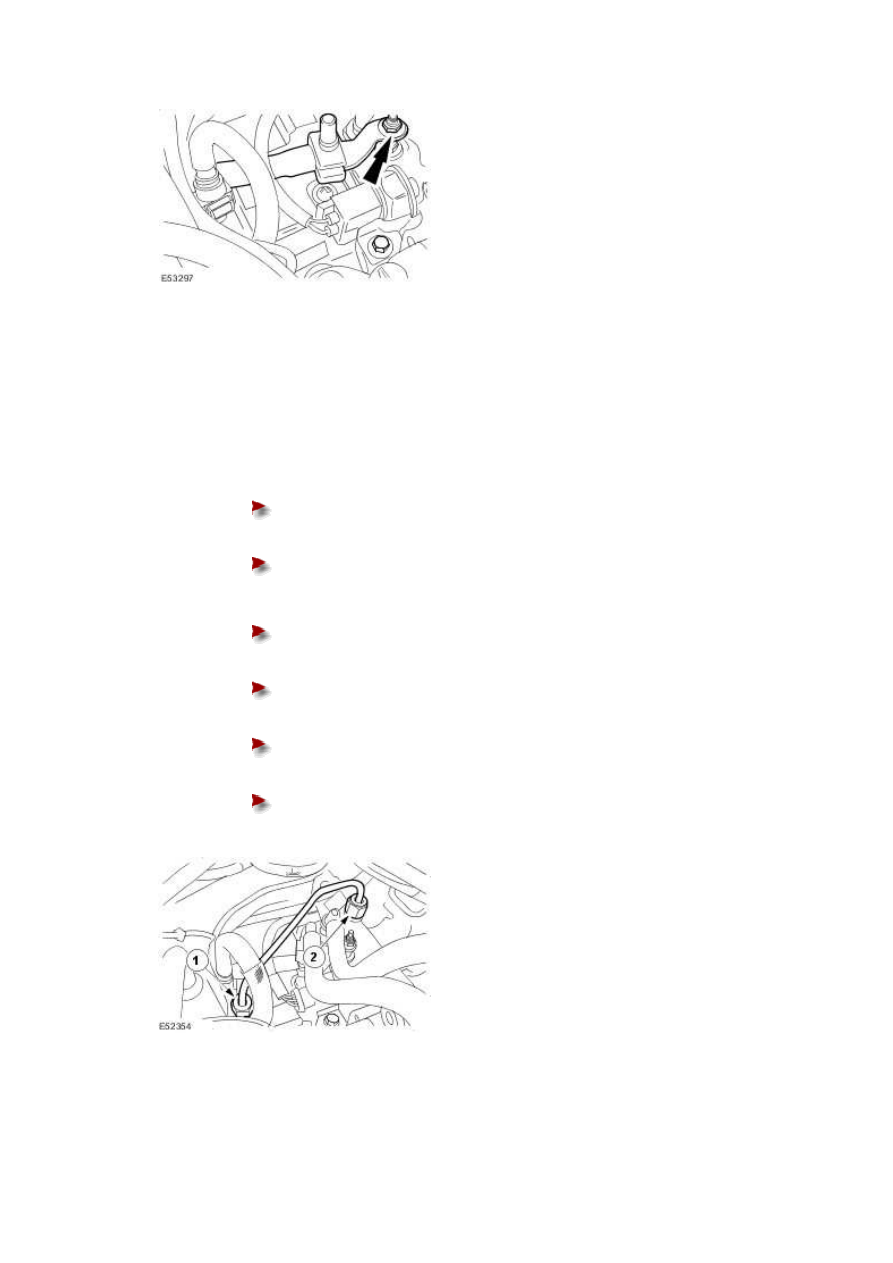
NOTE:
Remove the blanking caps.
Install a new high-pressure fuel supply line.
Install but do not tighten the high-pressure fuel supply line.
Tighten the high-pressure fuel supply line in the sequence shown in four
stages:
Tighten the high-pressure fuel supply line union 1 to fuel injection pump to
15 Nm.
Tighten the high-pressure fuel supply line union 2 to diverter rail to 15 Nm.
Tighten the high-pressure fuel supply line union 1 to fuel injection pump to
30 Nm.
Tighten the high-pressure fuel supply line union 2 to diverter rail to 30 Nm.
www.
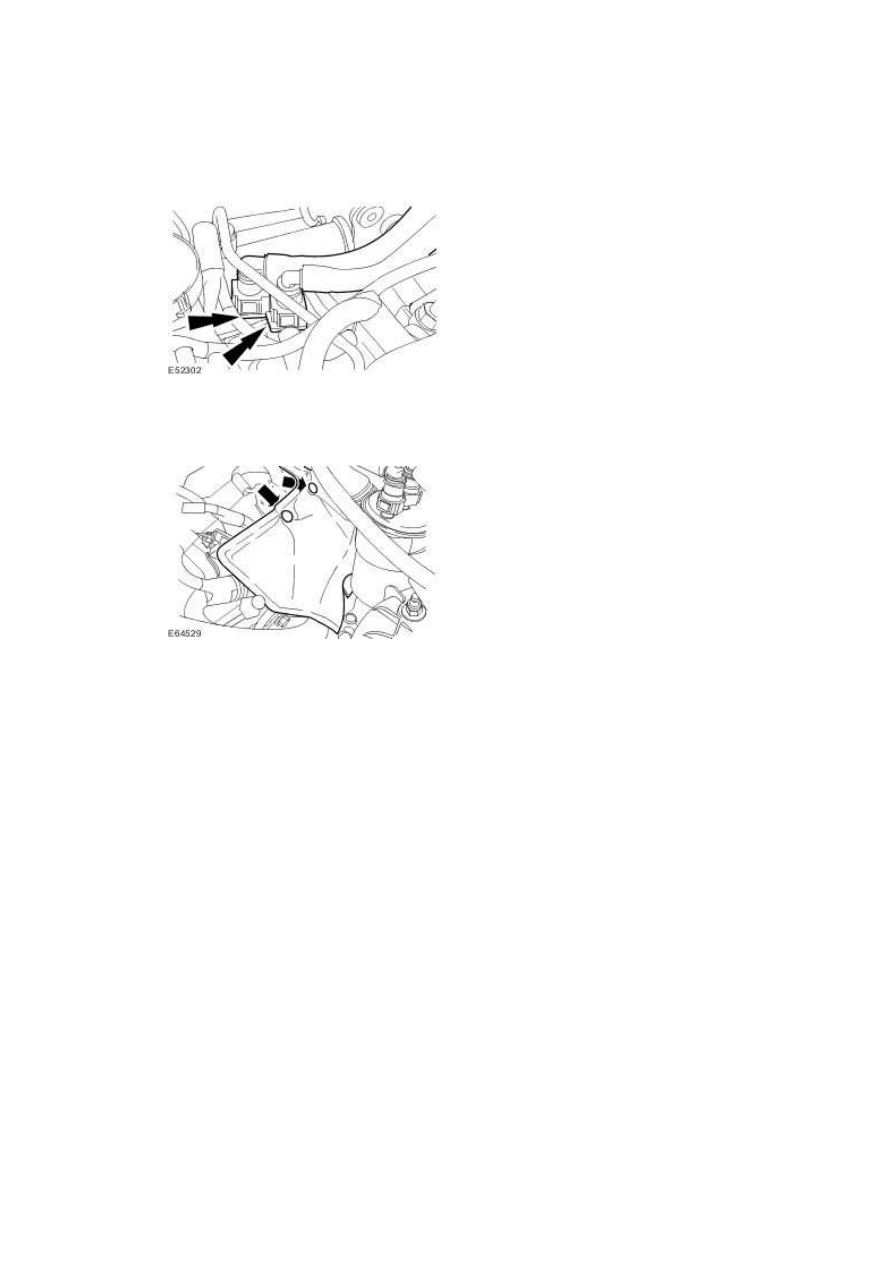
Remove the blanking caps.
Connect the low-pressure fuel inlet and return lines.
11 . Install the fuel injector sound proofing.
12 . Install the secondary bulkhead center panel.
For additional information, refer to Secondary Bulkhead Center Panel
10 . NOTE:
Fuel Injection Pump
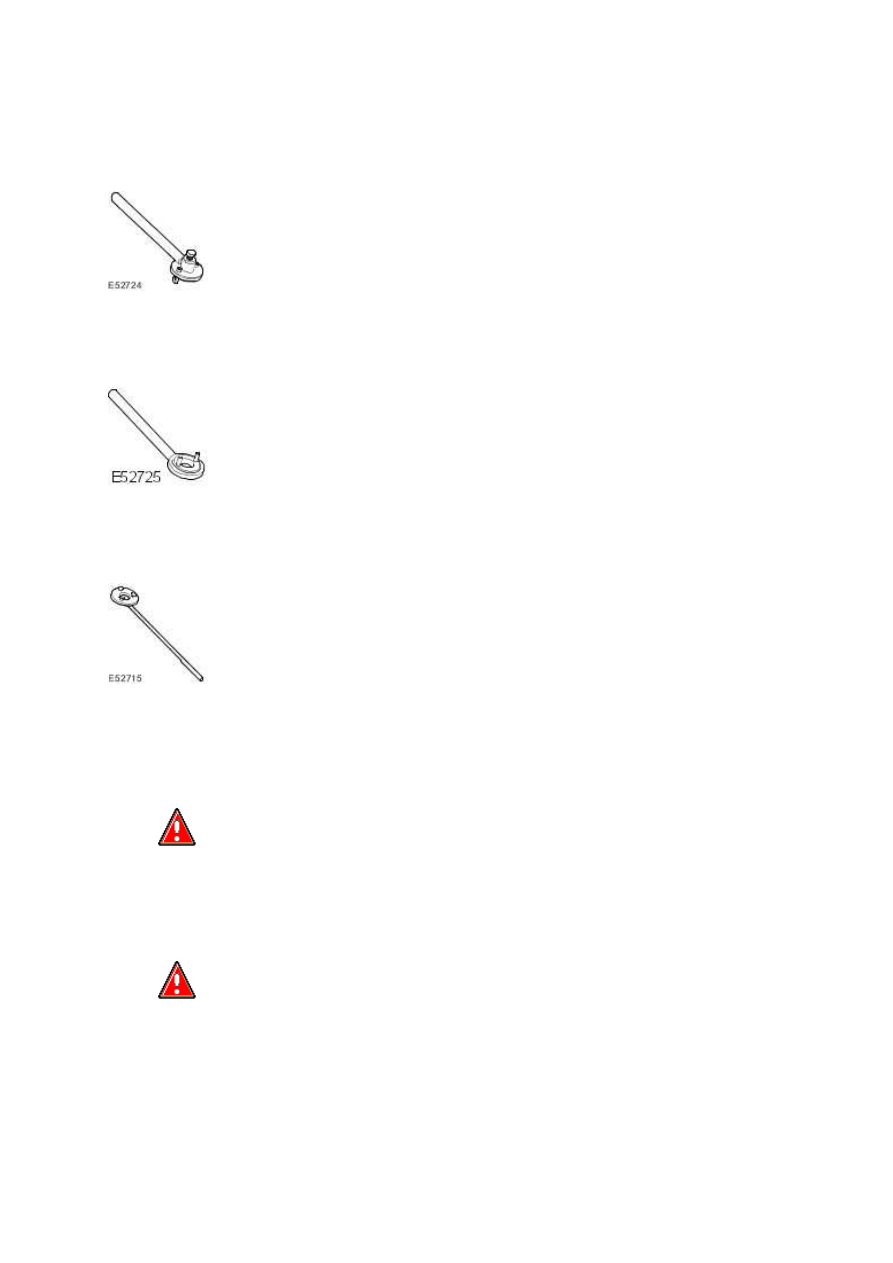
Special Service Tools
Reaction Arm - Fuel Pump Pulley
310-138
Holder - Fuel Pump Pulley
310-139
Holder - Camshaft Pulley Rear
303-1125
Removal
1
.
WARNING: Wait at least 30 seconds after the engine stops before commencing any
repair to the high pressure fuel injection system. Failure to follow this instruction may
result in personal injury.
WARNING: Do not smoke or carry lighted tobacco or open flame of any type when
working on or near any fuel related components. Highly flammable mixtures are always
present and may ignite. Failure to follow these instructions may result in personal injury.
www.
Нет комментариевНе стесняйтесь поделиться с нами вашим ценным мнением.
Текст