Jaguar XJ (X350). Service manual — part 1097
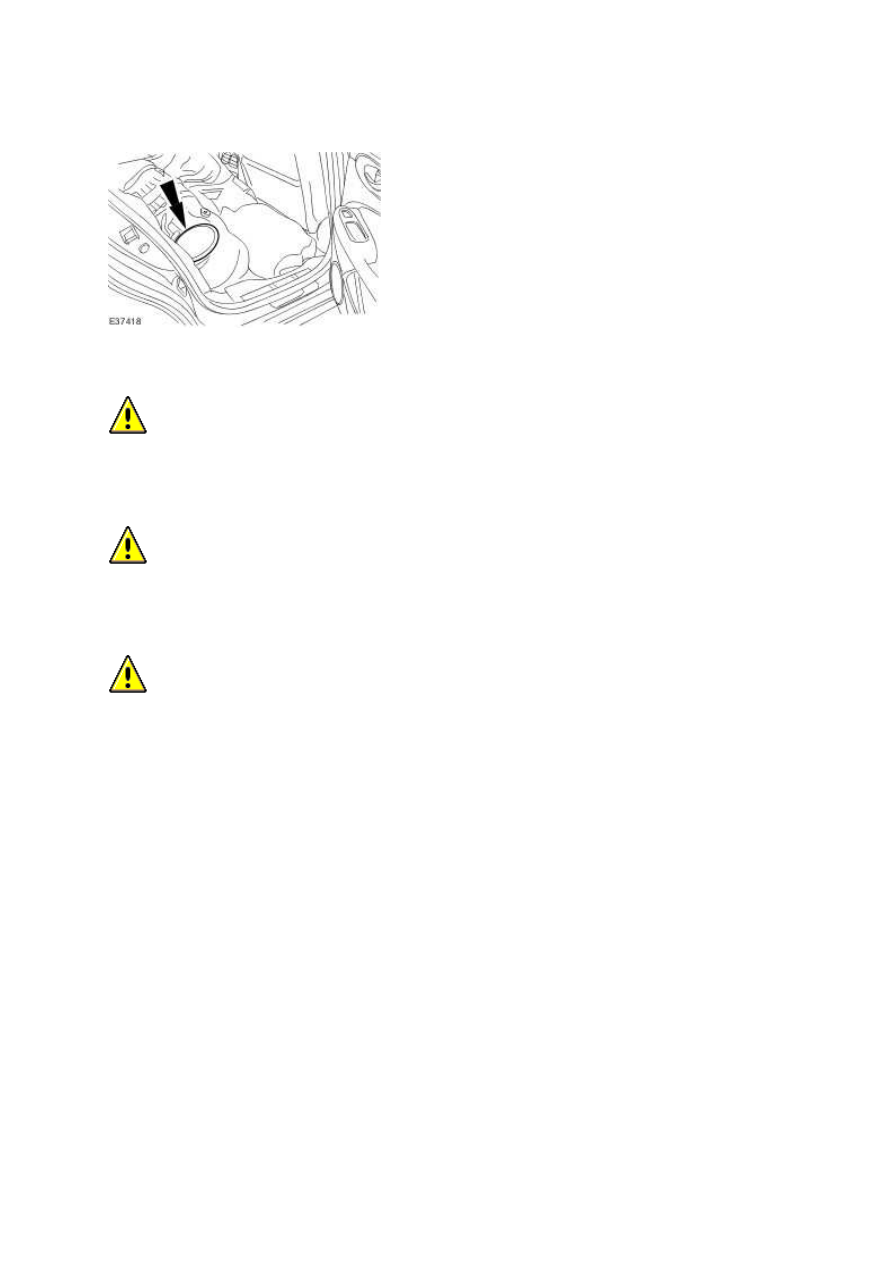
37. Install the floor aperture cover.
38.
CAUTION: Vehicles with supercharger - make sure the arrow on the left-hand fuel pump
module lines up with the 'SC' marker on the fuel tank.
CAUTION: Vehicles without supercharger - make sure the arrow on the fuel transfer pump
lines up with the 'NA' marker on the fuel tank.
CAUTION: Make sure no damage occurs to the fuel level float.
NOTE:
Install a new O-ring seal to the fuel transfer pump flange.
NOTE:
Take care not to stretch the O-ring seal.
Install the fuel transfer pump.
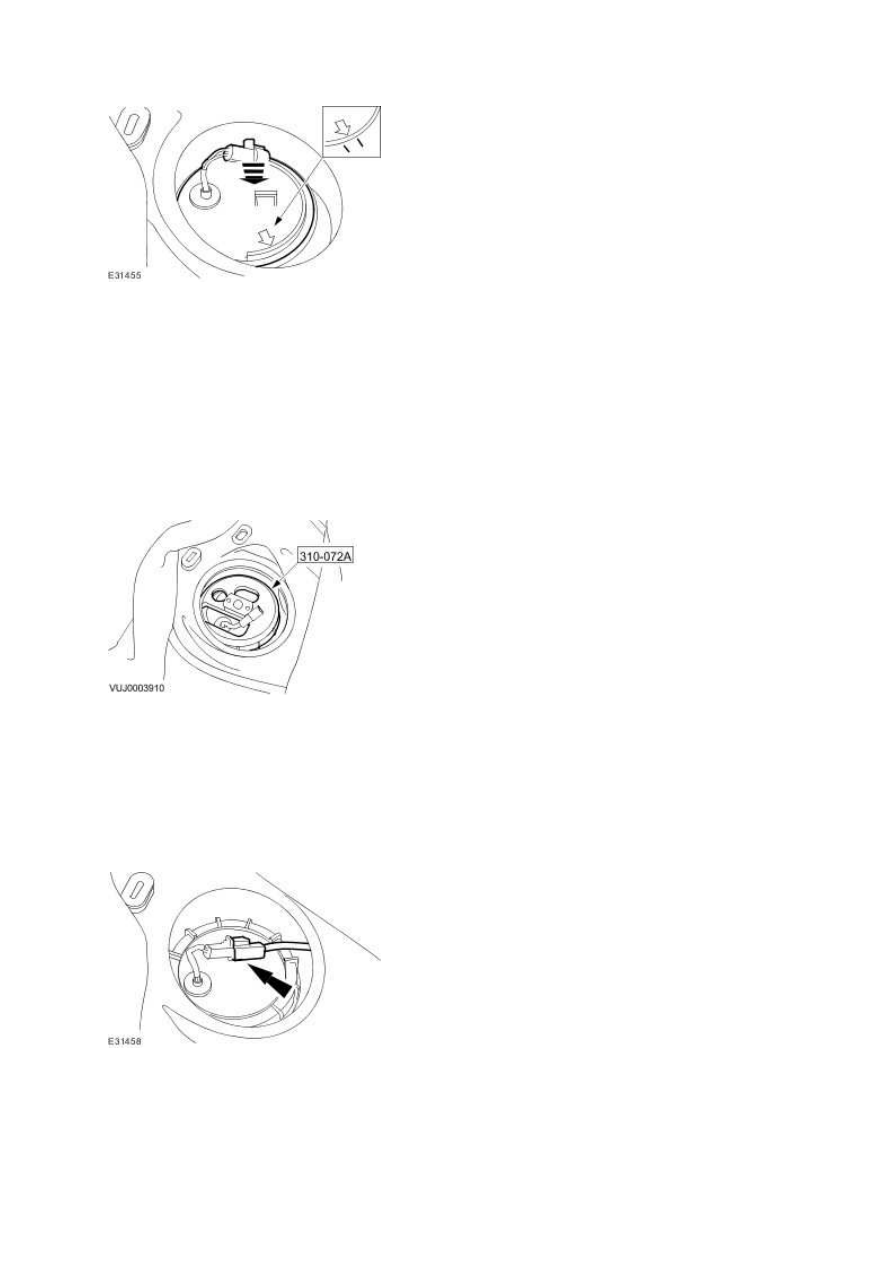
39. NOTE:
Vehicles without supercharger shown, vehicles with supercharger similar.
Using the special tool, install the fuel transfer pump locking ring.
•
Tighten to 70 Nm.
40. NOTE:
Vehicles without supercharger shown, vehicles with supercharger similar.
Connect the fuel transfer pump electrical connector.
www.

Vehicles without supercharger shown, vehicles with supercharger similar.
Attach the fuel transfer pump module electrical connector to the retaining bracket.
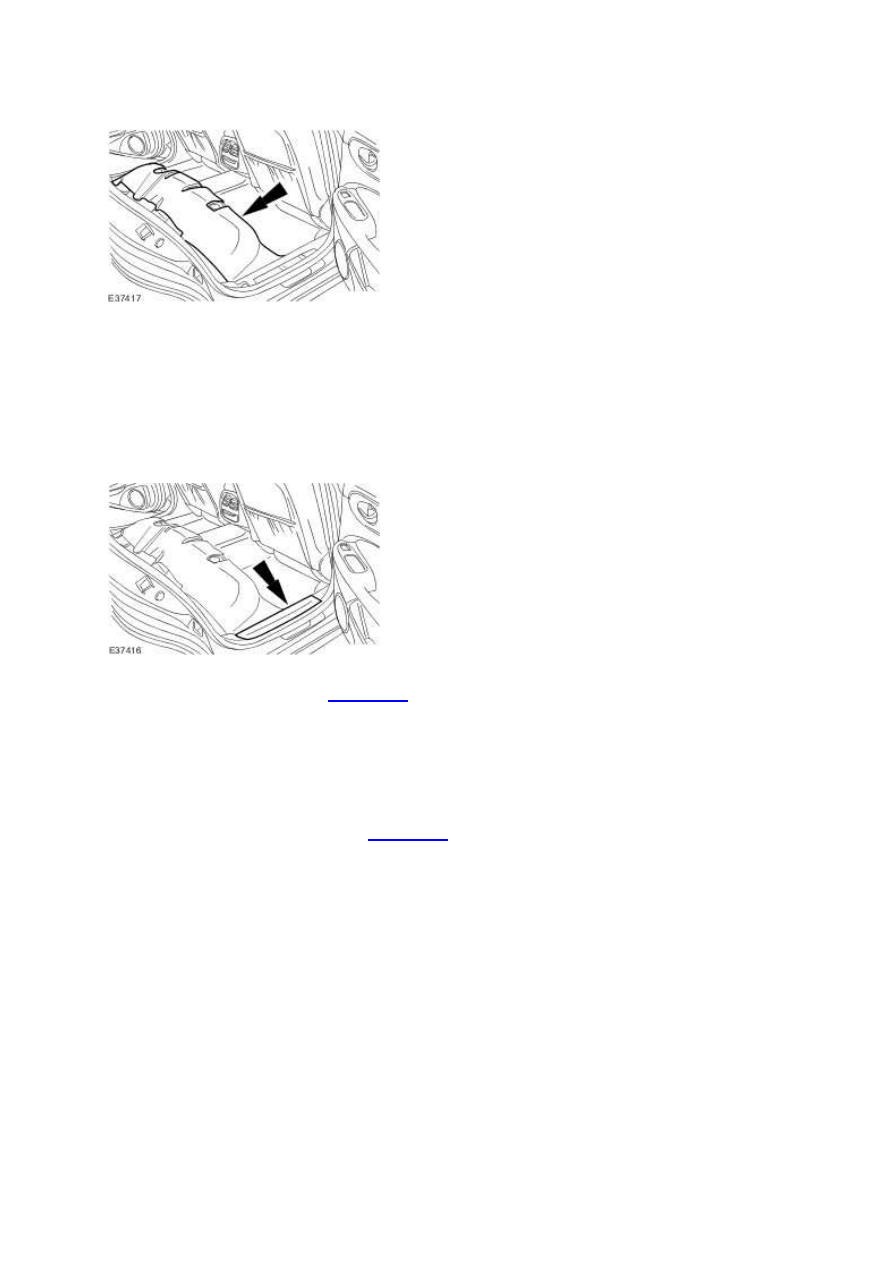
42. Install the floor aperture cover.
43. NOTE:
Right-hand shown, left-hand similar.
Attach the rear seat cushion insulation.
44. NOTE:
Right-hand shown, left-hand similar.
Attach the floor covering.
41. NOTE:
45. NOTE:
Right-hand shown, left-hand similar.
Install the scuff plate trim panels.
46. Install the rear seat cushion. <<501-10>>
47. Attach the fuel tank filler pipe cap.
48. Connect the battery ground cable. <<414-01>>
49. Close the fuel tank filler pipe flap.
www.
Нет комментариевНе стесняйтесь поделиться с нами вашим ценным мнением.
Текст