Jaguar XJ (X350). Service manual — part 1239
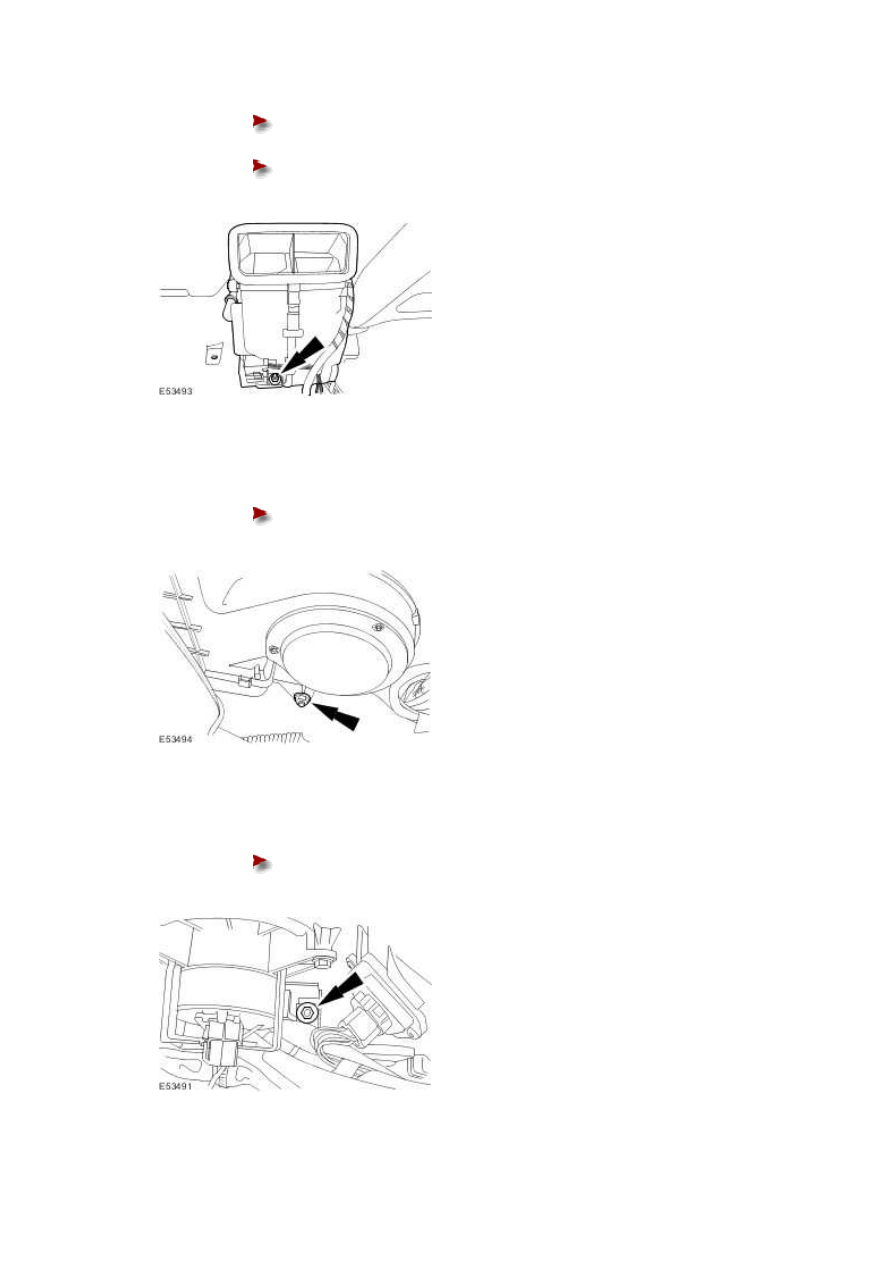
Install the auxiliary heater core and evaporator core housing retaining nut.
Tighten to 4 Nm.
2 . Install the auxiliary heater core and evaporator core housing retaining nut.
Tighten to 4 Nm.
3 . Install the auxiliary heater core and evaporator core housing retaining nut.
Tighten to 4 Nm.
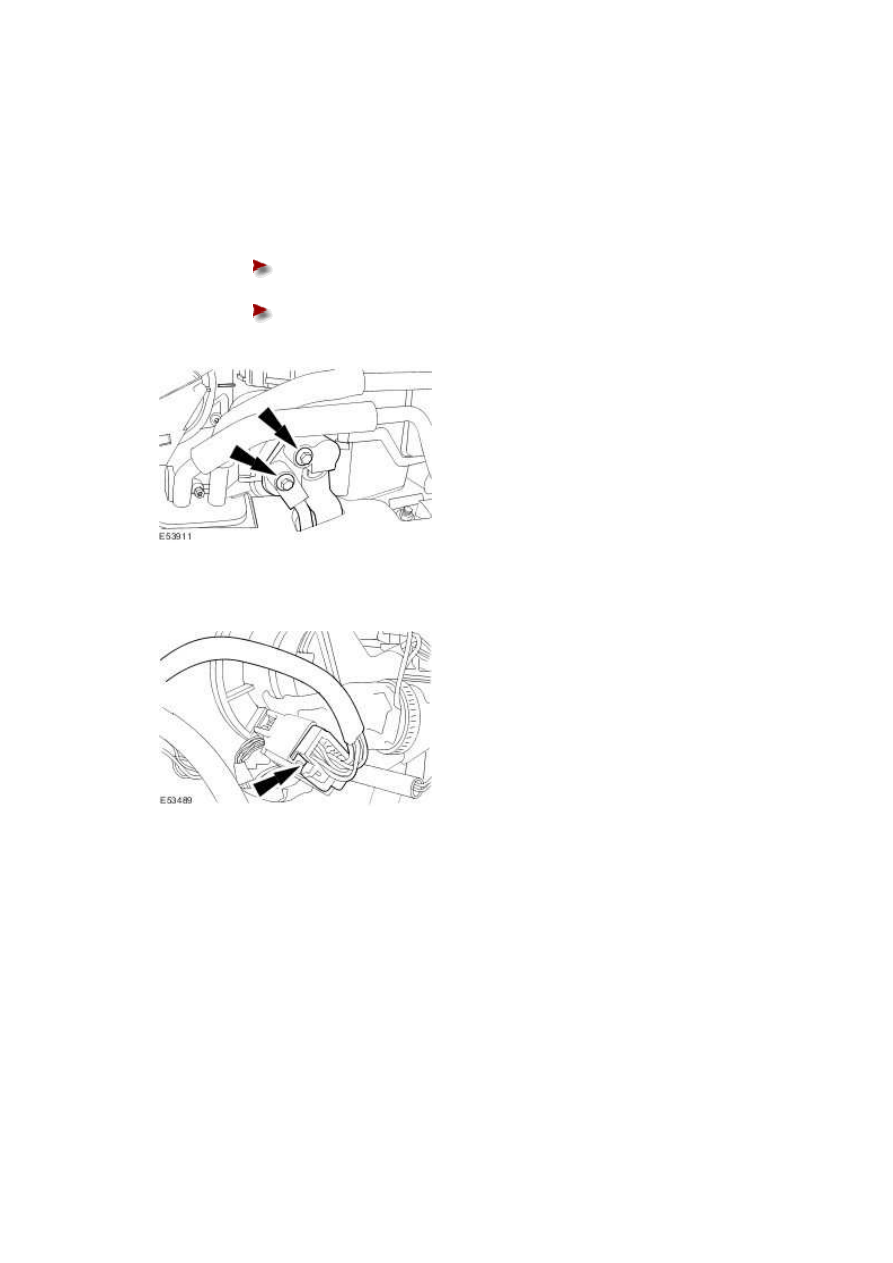
4 . NOTE:
Install new auxiliary evaporator outlet and inlet line O-ring seals.
Attach the auxiliary evaporator outlet and inlet lines.
Install the auxiliary evaporator outlet and inlet line retaining bolts.
Tighten to 2 Nm.
5 . Connect the auxiliary heater core and evaporator core housing electrical connector.
6 . Install the heater core.
For additional information, refer to Heater Core
7
.
Carry out the A/C system evacuation and charging procedure.
For additional information, refer to Air Conditioning (A/C) System Recovery, Evacuation and
Charging (82.30.30)
www.
Auxiliary Temperature Blend Door
Actuator
Removal
1
.
Remove the floor console.
For additional information, refer to Floor Console - Vehicles With: Auxiliary Climate Control
(76.25.01)
2
.
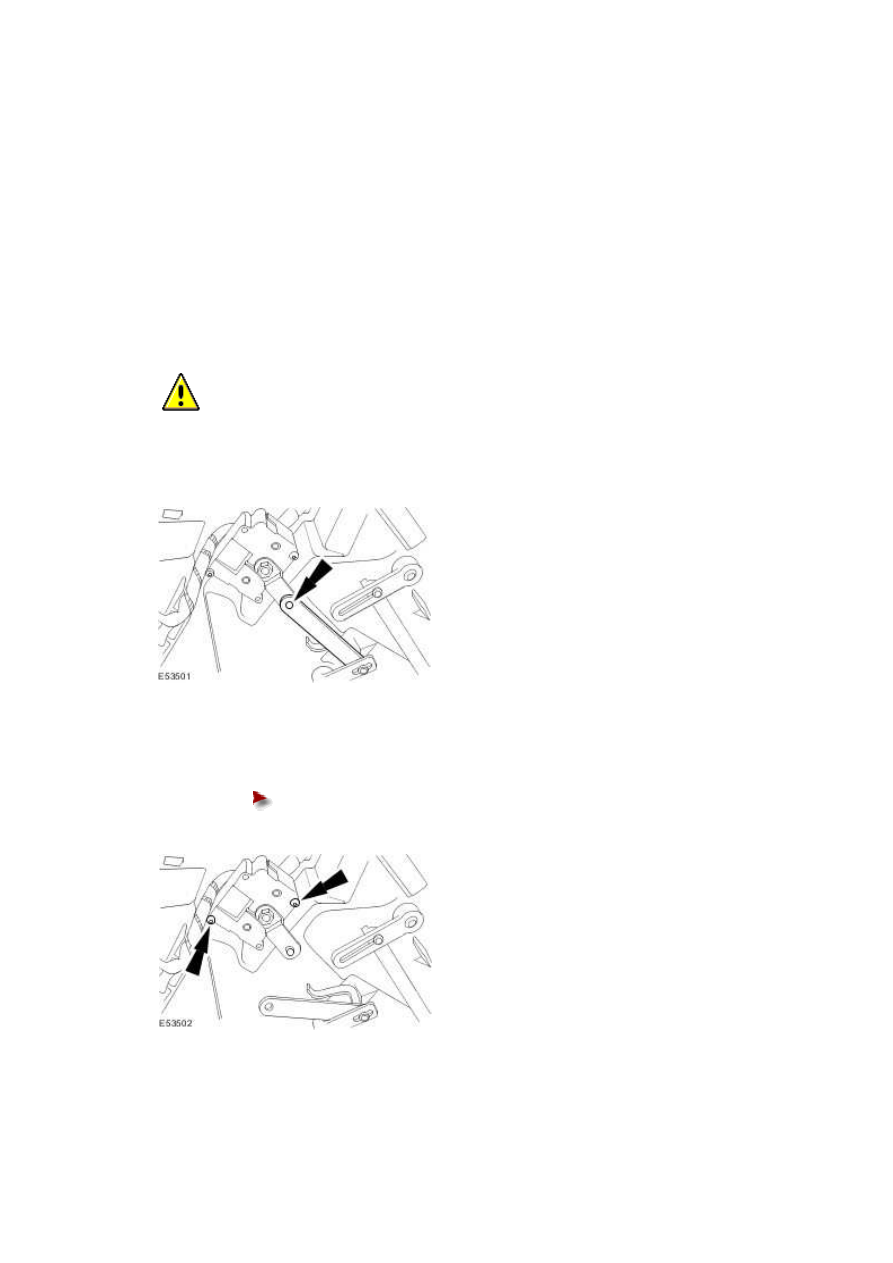
CAUTION: Make sure no damage occurs to the auxiliary temperature blend door
actuator link rod.
Detach the auxiliary temperature blend door actuator link rod.
3 . Detach the auxiliary temperature blend door actuator.
Remove the auxiliary temperature blend door actuator retaining screws.
4 Remove the auxiliary temperature blend door actuator.
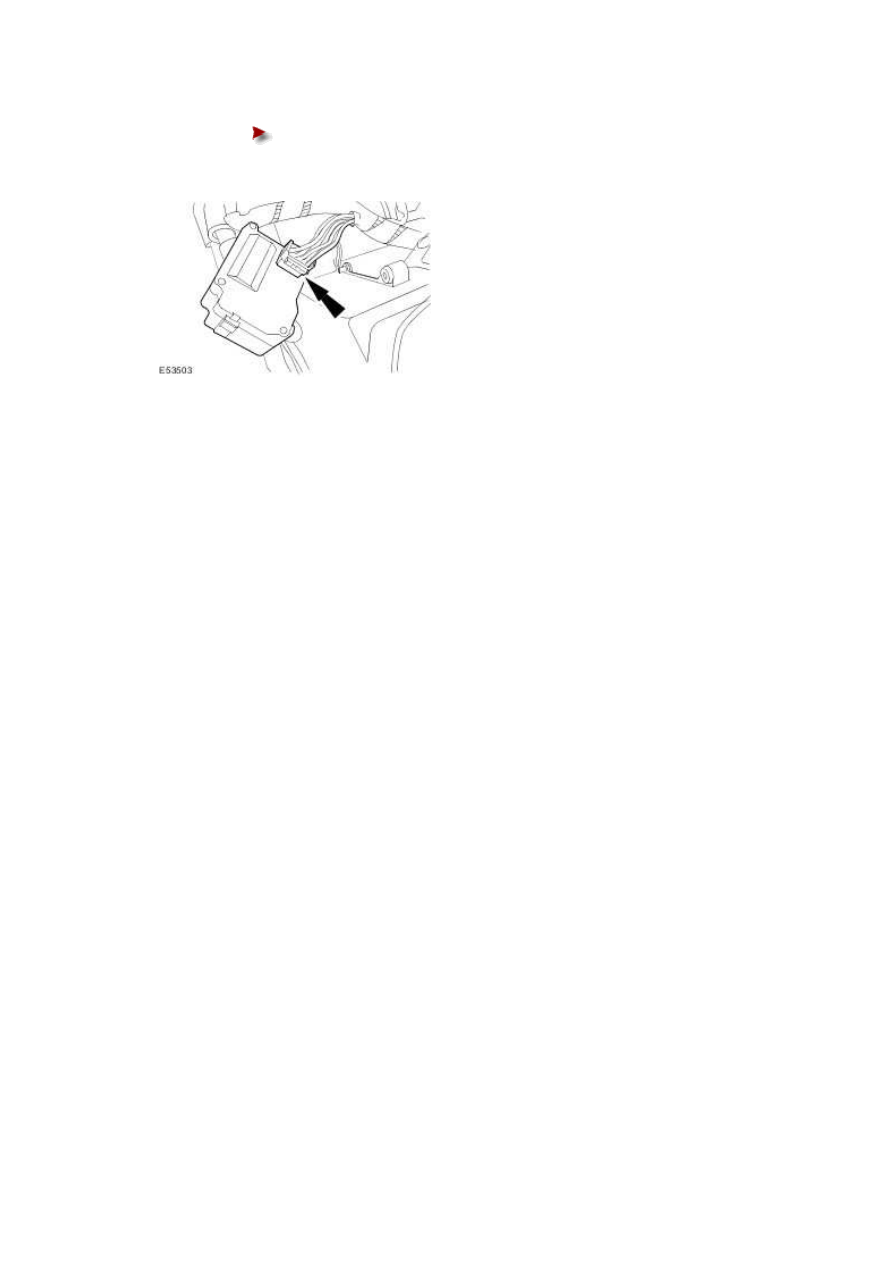
.
Disconnect the auxiliary temperature blend door actuator electrical
connector.
Installation
1 . To install, reverse the removal procedure.
www.
Нет комментариевНе стесняйтесь поделиться с нами вашим ценным мнением.
Текст