Subaru Impreza 3 / Impreza WRX / Impreza WRX STI. Service manual — part 98
CO(STI)-24
Radiator Main Fan and Fan Motor
COOLING
D: ASSEMBLY
Assemble in the reverse order of disassembly.
Tightening torque:
4.41 N·m (0.45 kgf-m, 3.25 ft-lb)
Tightening torque:
3.4 N·m (0.3 kgf-m, 2.5 ft-lb)
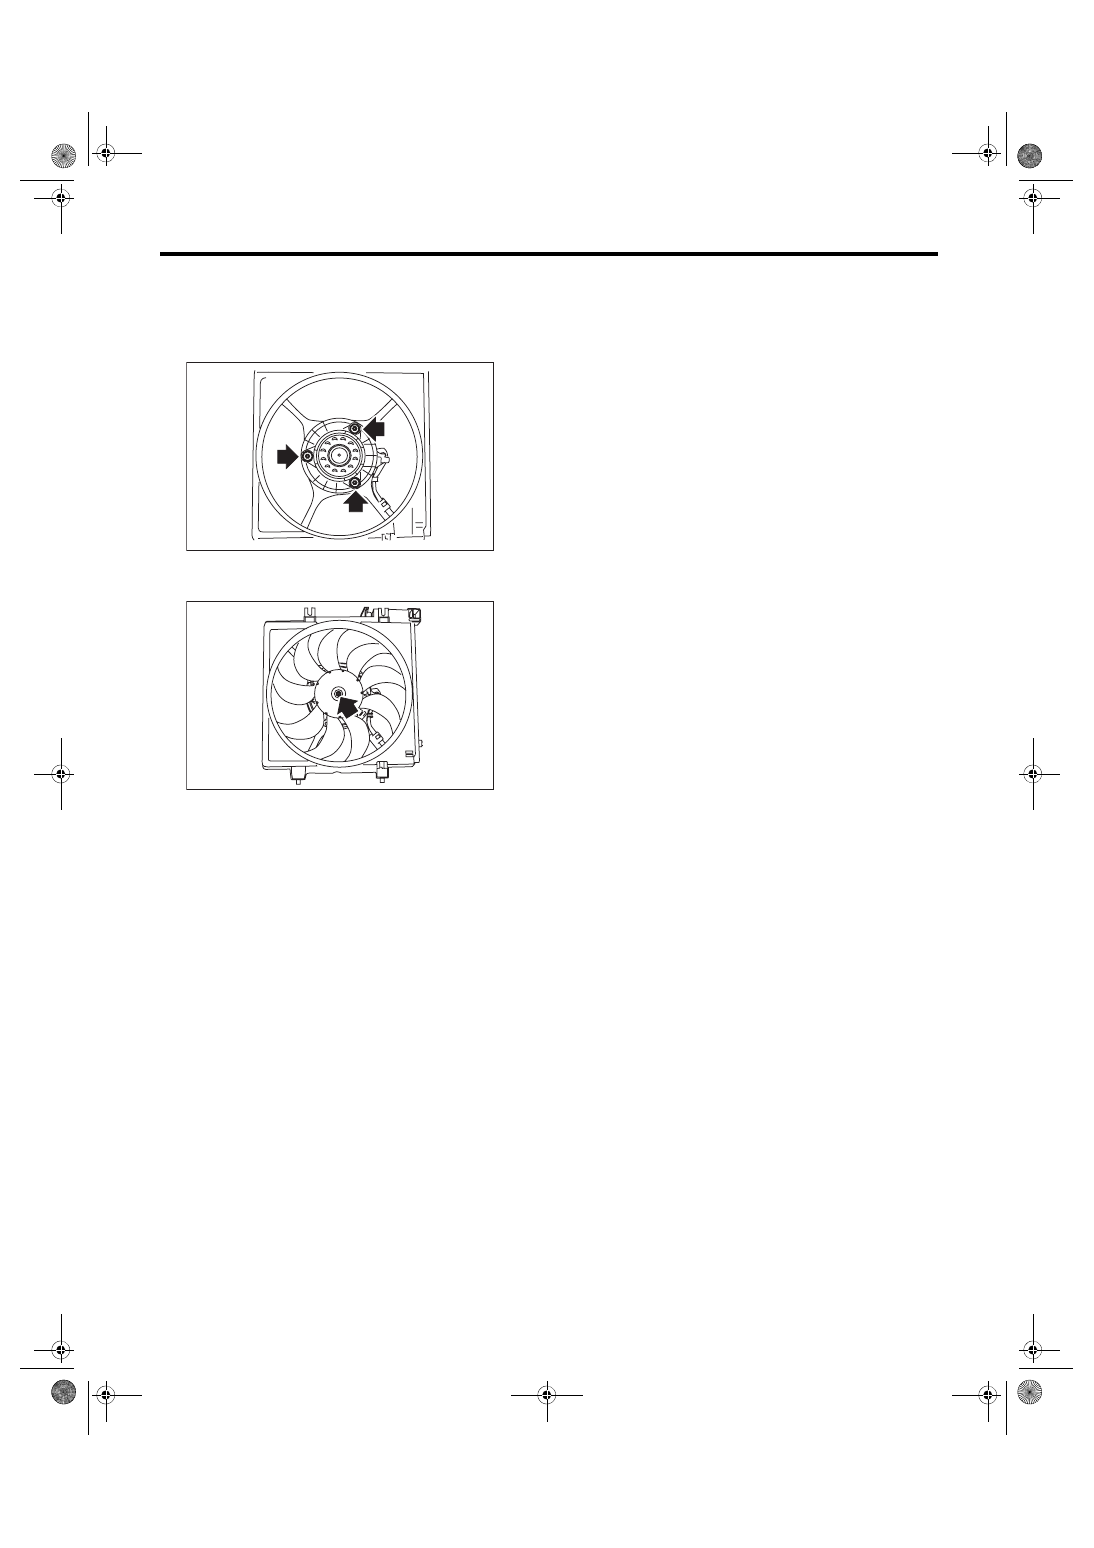
E: INSPECTION
Check that the radiator main fan, radiator main fan
shroud and main fan motor do not have deforma-
tion, cracks or damage.
CO-02373
CO-02372
CO(STI)-25
Radiator Sub Fan and Fan Motor
COOLING
9. Radiator Sub Fan and Fan
Motor
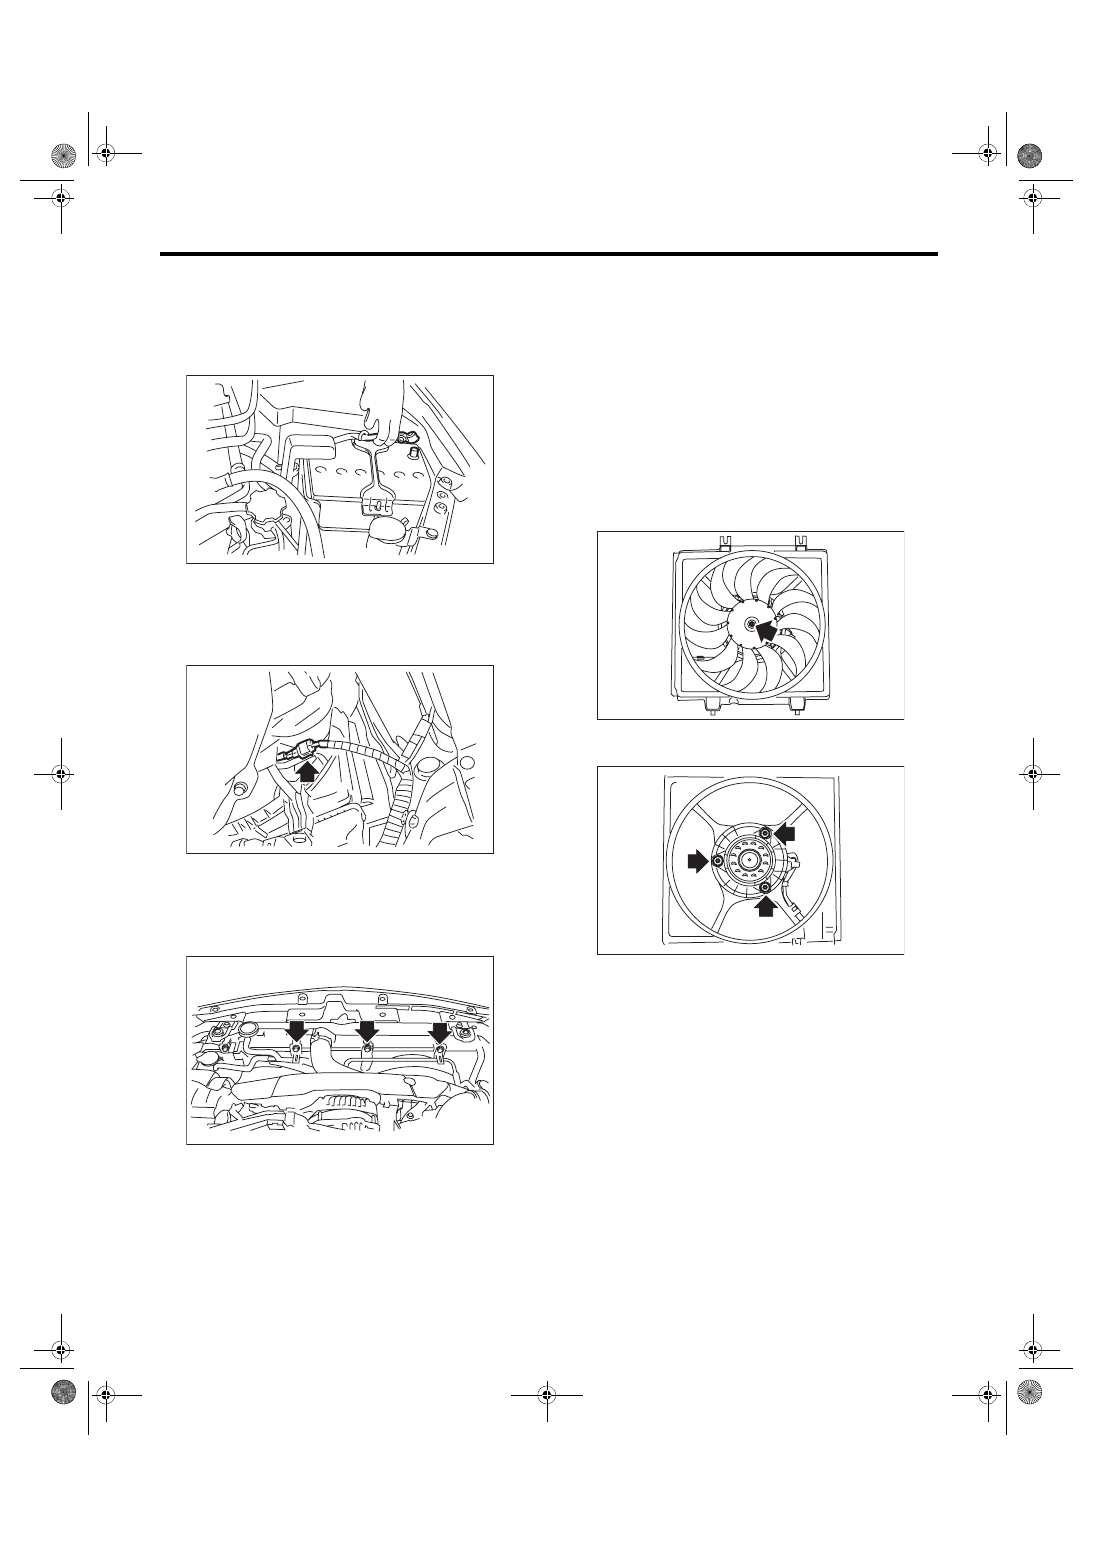
A: REMOVAL
1) Disconnect the ground cable from battery.
2) Lift up the vehicle.
3) Remove the under cover. <Ref. to EI-28, RE-
4) Disconnect the connector from the sub fan mo-
tor.
5) Lower the vehicle.
6) Remove the air intake duct. <Ref. to IN(STI)-10,
7) Remove the bolts which secure the radiator sub
fan motor assembly and the over flow pipe.
8) Raise the radiator sub fan motor assembly
slightly, remove the pin at the lower part of the ra-
diator sub fan motor assembly from the radiator
hole, and remove the radiator sub fan motor as-
sembly from the lower side of the vehicle.
B: INSTALLATION
Install in the reverse order of removal.
CAUTION:
Check if the radiator hose and the over flow
hose are properly connected.
Tightening torque:
7.5 N·m (0.8 kgf-m, 5.5 ft-lb)
C: DISASSEMBLY
1) Remove the clip which holds the sub fan motor
connector onto the radiator sub fan shroud.
2) Disconnect the radiator sub fan from the sub fan
motor.
3) Disconnect the sub fan motor from the radiator
sub fan shroud.
IN-00203
CO-02775
CO-02413
CO-02369
CO-02373
CO(STI)-26
Radiator Sub Fan and Fan Motor
COOLING
D: ASSEMBLY
Assemble in the reverse order of disassembly.
Tightening torque:
4.41 N·m (0.45 kgf-m, 3.25 ft-lb)
Tightening torque:
3.4 N·m (0.3 kgf-m, 2.5 ft-lb)
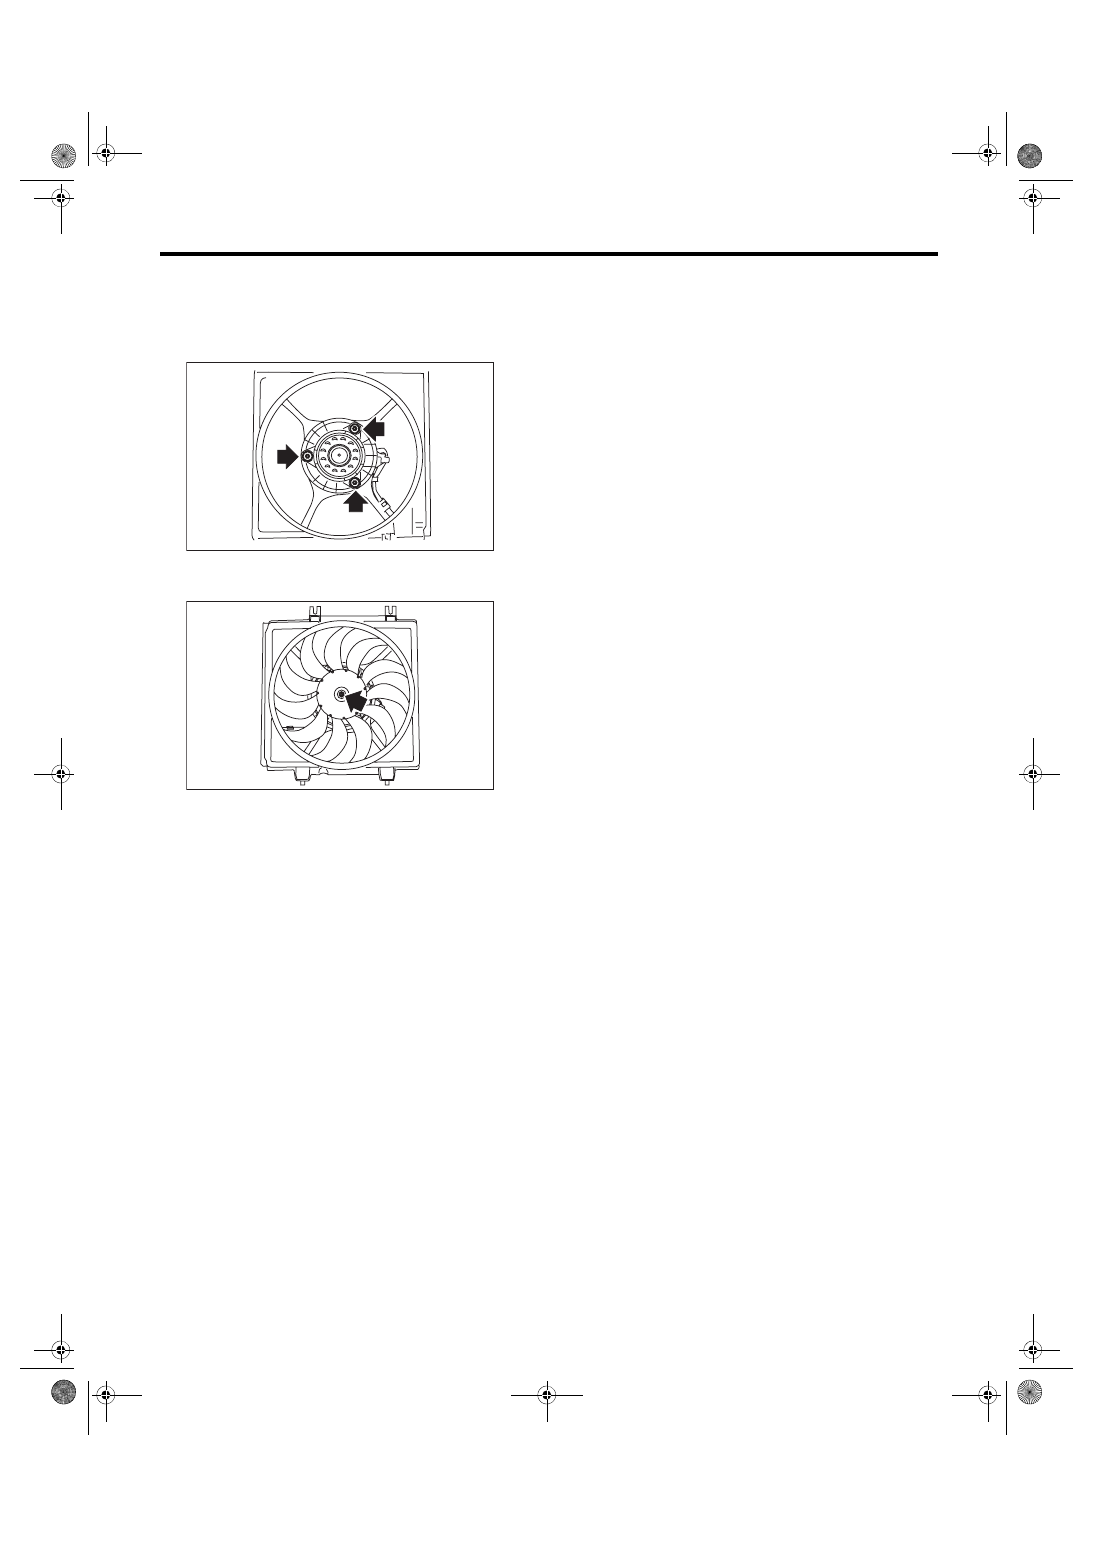
E: INSPECTION
Check that the radiator sub fan, radiator sub fan
shroud and sub fan motor do not have deformation,
cracks or damage.
CO-02373
CO-02369
CO(STI)-27
Reservoir Tank
COOLING
10.Reservoir Tank
A: REMOVAL
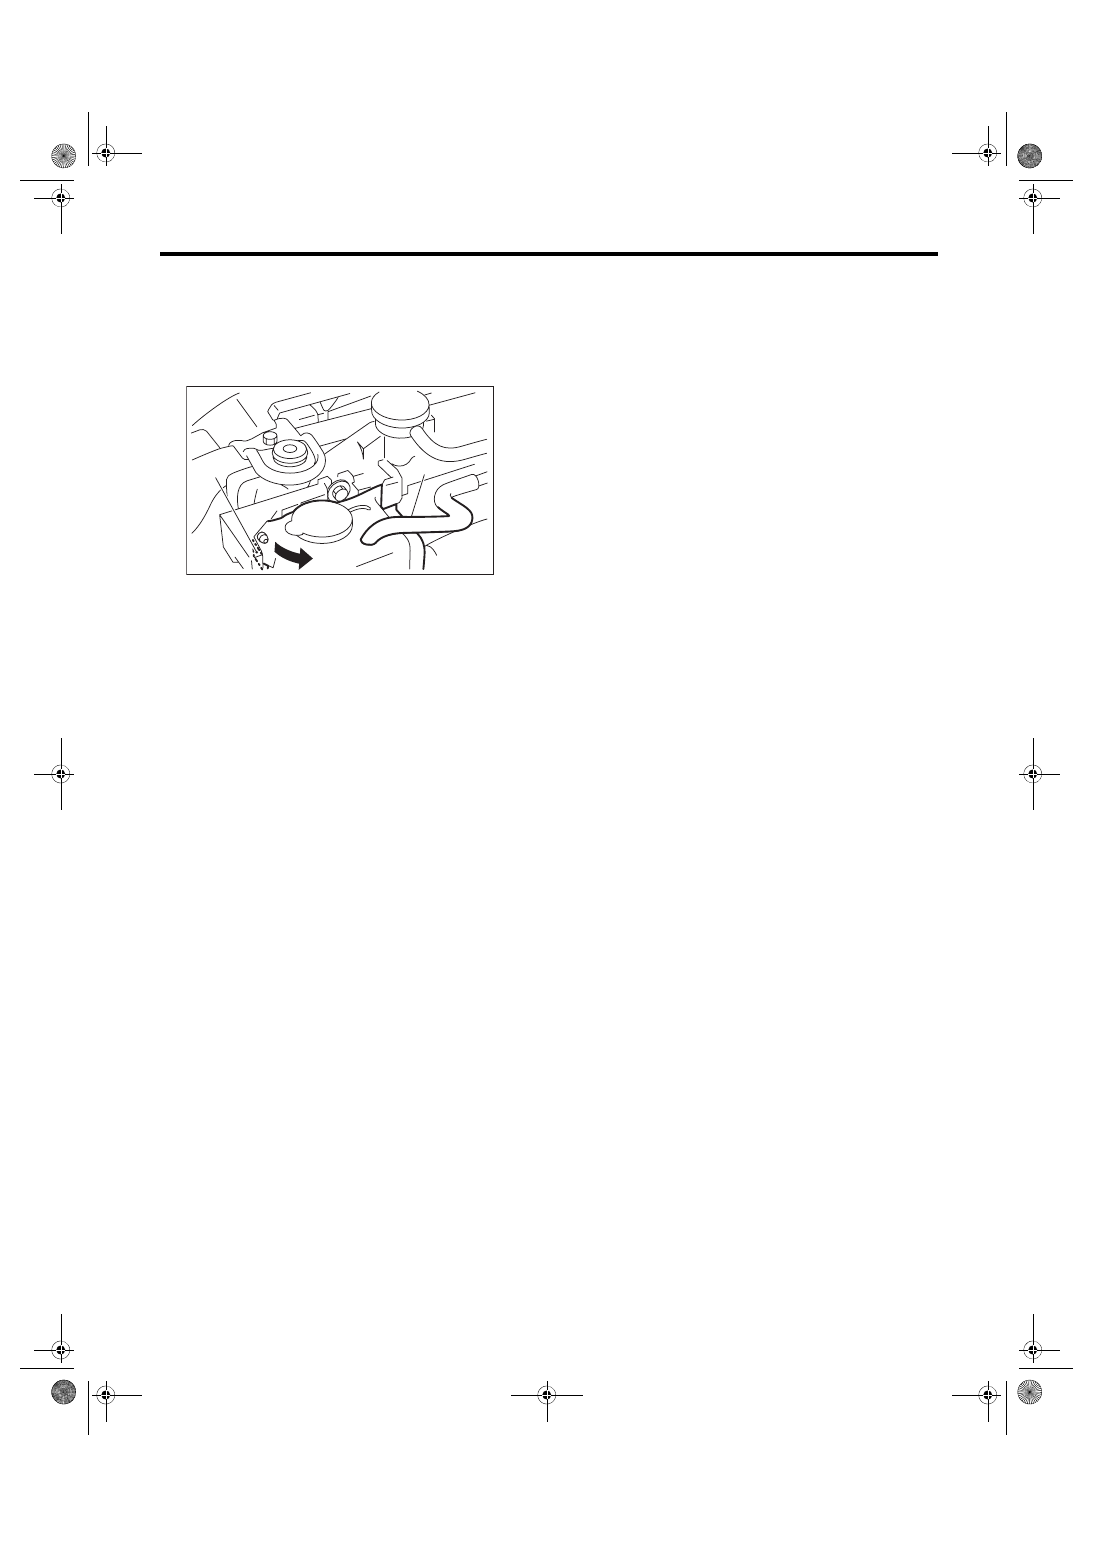
1) Pull out the over flow hose (A).
2) Pull out the reservoir tank to the arrow direction
while pushing the claw (B).
B: INSTALLATION
Install in the reverse order of removal.
C: INSPECTION
1) Check that the reservoir tank does not have de-
formation, cracks or damage.
2) Make sure the over flow hoses are not cracked,
damaged or loose.
3) Make sure the engine coolant level is between
“FULL” and “LOW”.
CO-02766
(B)
(A)
Нет комментариевНе стесняйтесь поделиться с нами вашим ценным мнением.
Текст