Subaru Legacy (2005 year). Service manual — part 1009
EB-13
EXTERIOR BODY PANELS
Front Hood
2. Front Hood
A: REMOVAL
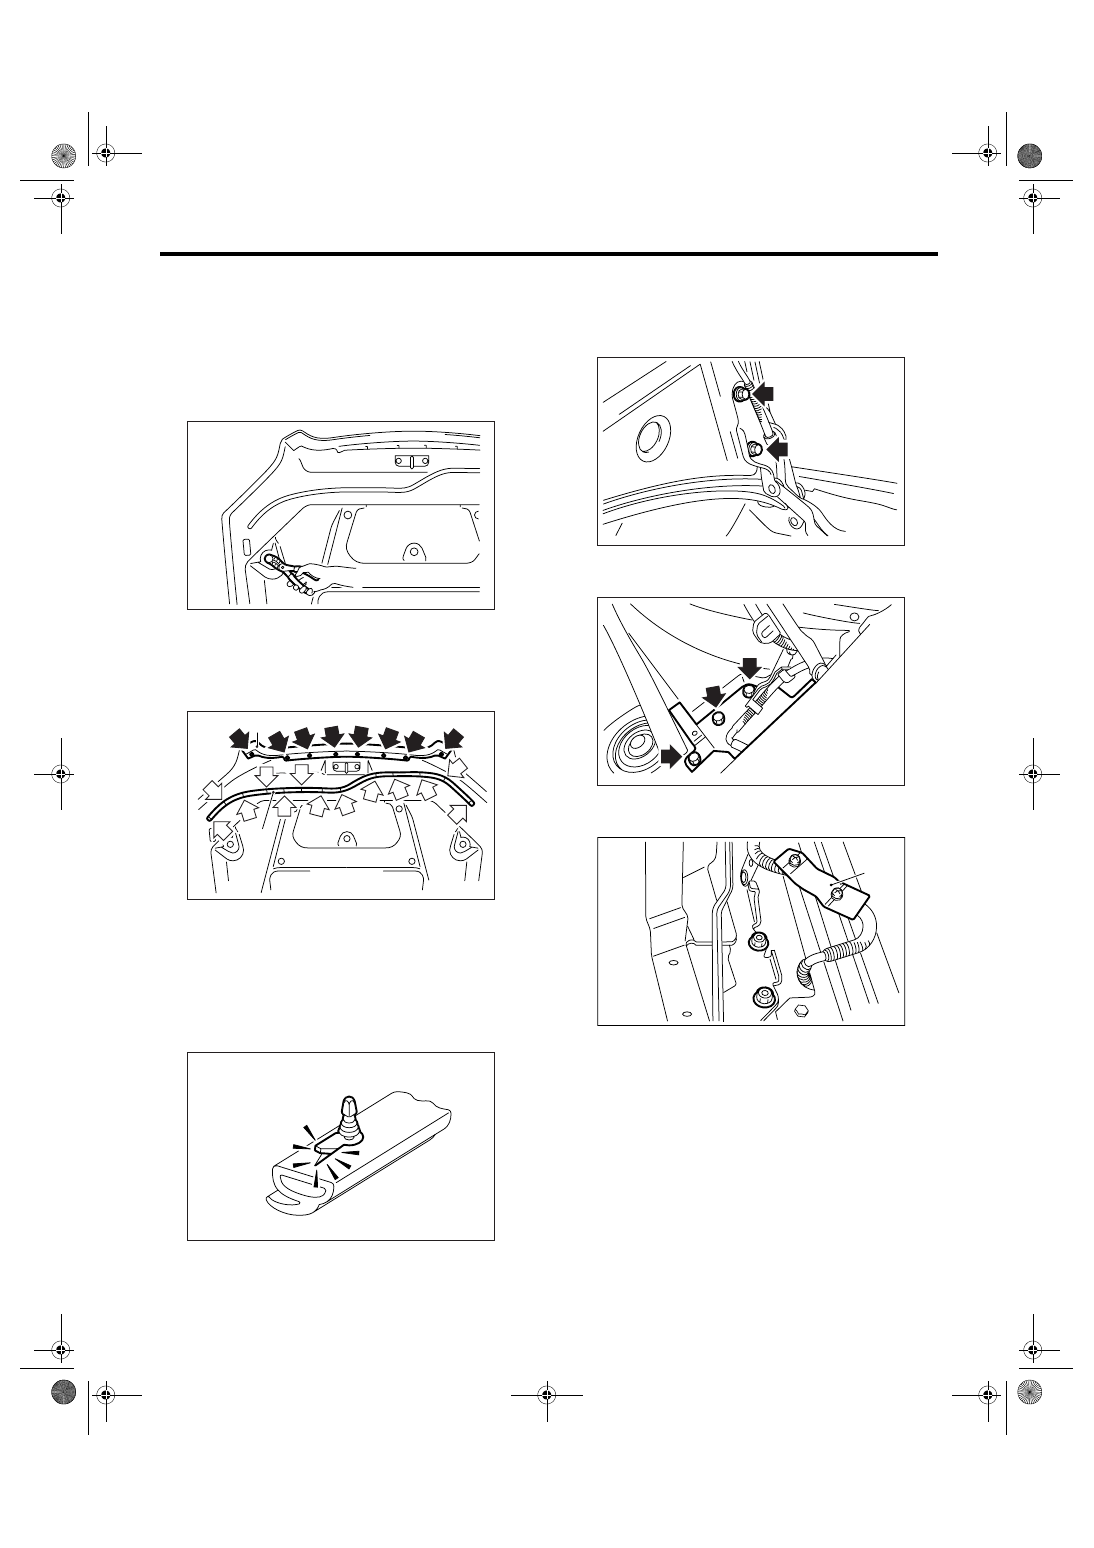
1. FRONT HOOD INSULATOR
1) Open the hood.
2) Release the clips to remove the front hood insu-
lator.
2. FRONT HOOD WEATHER STRIP
1) Open the hood.
2) Remove the clips, and remove the front hood
weather strip (A) and intake duct weather strip (B).
NOTE:
If the weather strip clip is removed with excessive
force, the weather strip may be damaged. Be sure
to use clip remover to remove.
3. FRONT HOOD HINGE
1) Remove the bolts, and remove the front hood
panel. <Ref. to EB-14, FRONT HOOD PANEL, RE-
MOVAL, Front Hood.>
2) Remove the clips, and remove the cowl side
panel front.
3) Remove the clamp (A) of the window washer
hose, and remove bolt of the front hood hinge.
(C) Clip
(D) Weather strip clip
EB-00139
EB-00140
(D)
(C)
(A)
(B)
EB-00141
EB-00138
EB-00142
EB-00143
(A)
EB-14
EXTERIOR BODY PANELS
Front Hood
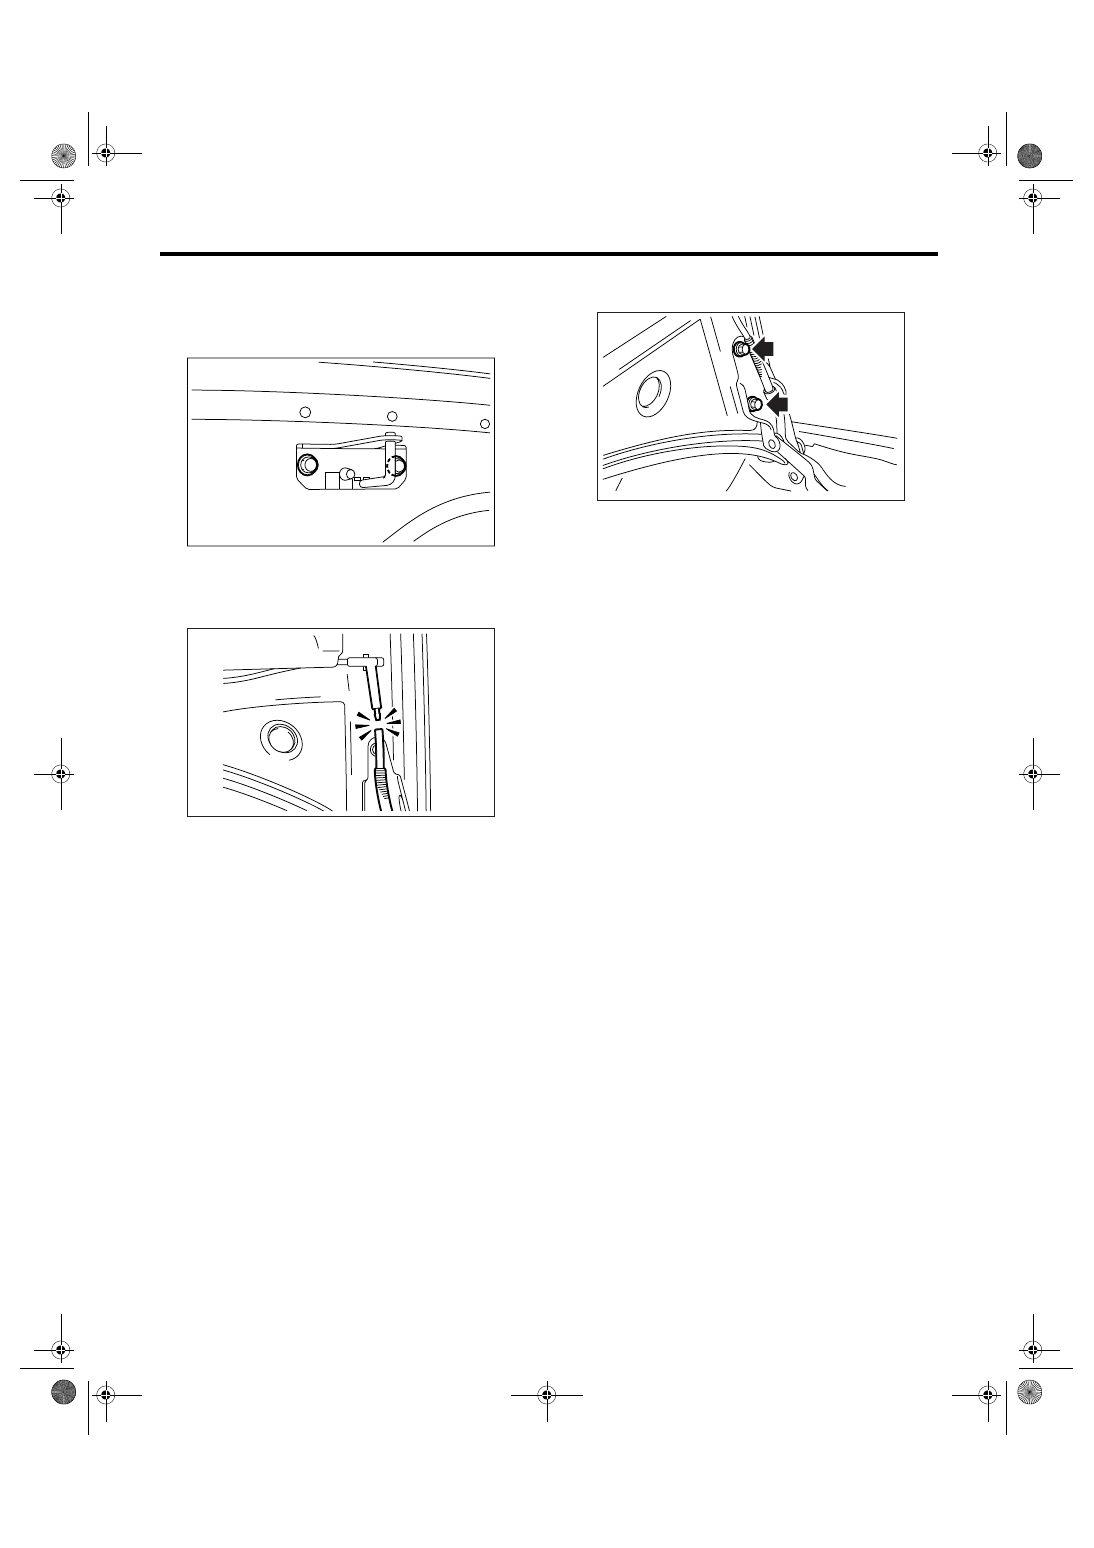
4. FRONT HOOD STRIKER
1) Open the hood.
2) Remove the bolt, and remove the front hood
striker.
5. FRONT HOOD PANEL
1) Open the front hood to remove the window
washer hose.
2) Remove the front hood insulator.
<Ref. to EB-13, FRONT HOOD INSULATOR, RE-
MOVAL, Front Hood.>
3) Remove the front hood weather strip.
<Ref. to EB-13, FRONT HOOD WEATHER STRIP,
REMOVAL, Front Hood.>
4) Remove the front hood striker.
<Ref. to EB-14, FRONT HOOD STRIKER, RE-
MOVAL, Front Hood.>
5) Remove the front hood duct. (Turbo model)
<Ref. to EI-25, REMOVAL, Front Hood Grille.>
6) Remove the window washer hose and nozzle.
<Ref. to WW-20, REMOVAL, Front Washer Noz-
zle.>
7) Remove the bolts, and remove the front hood
panel from front hood hinge.
B: INSTALLATION
1. FRONT HOOD INSULATOR
Install in the reverse order of removal.
NOTE:
Be careful not to catch the window washer hose in.
2. FRONT HOOD WEATHER STRIP
Install in the reverse order of removal.
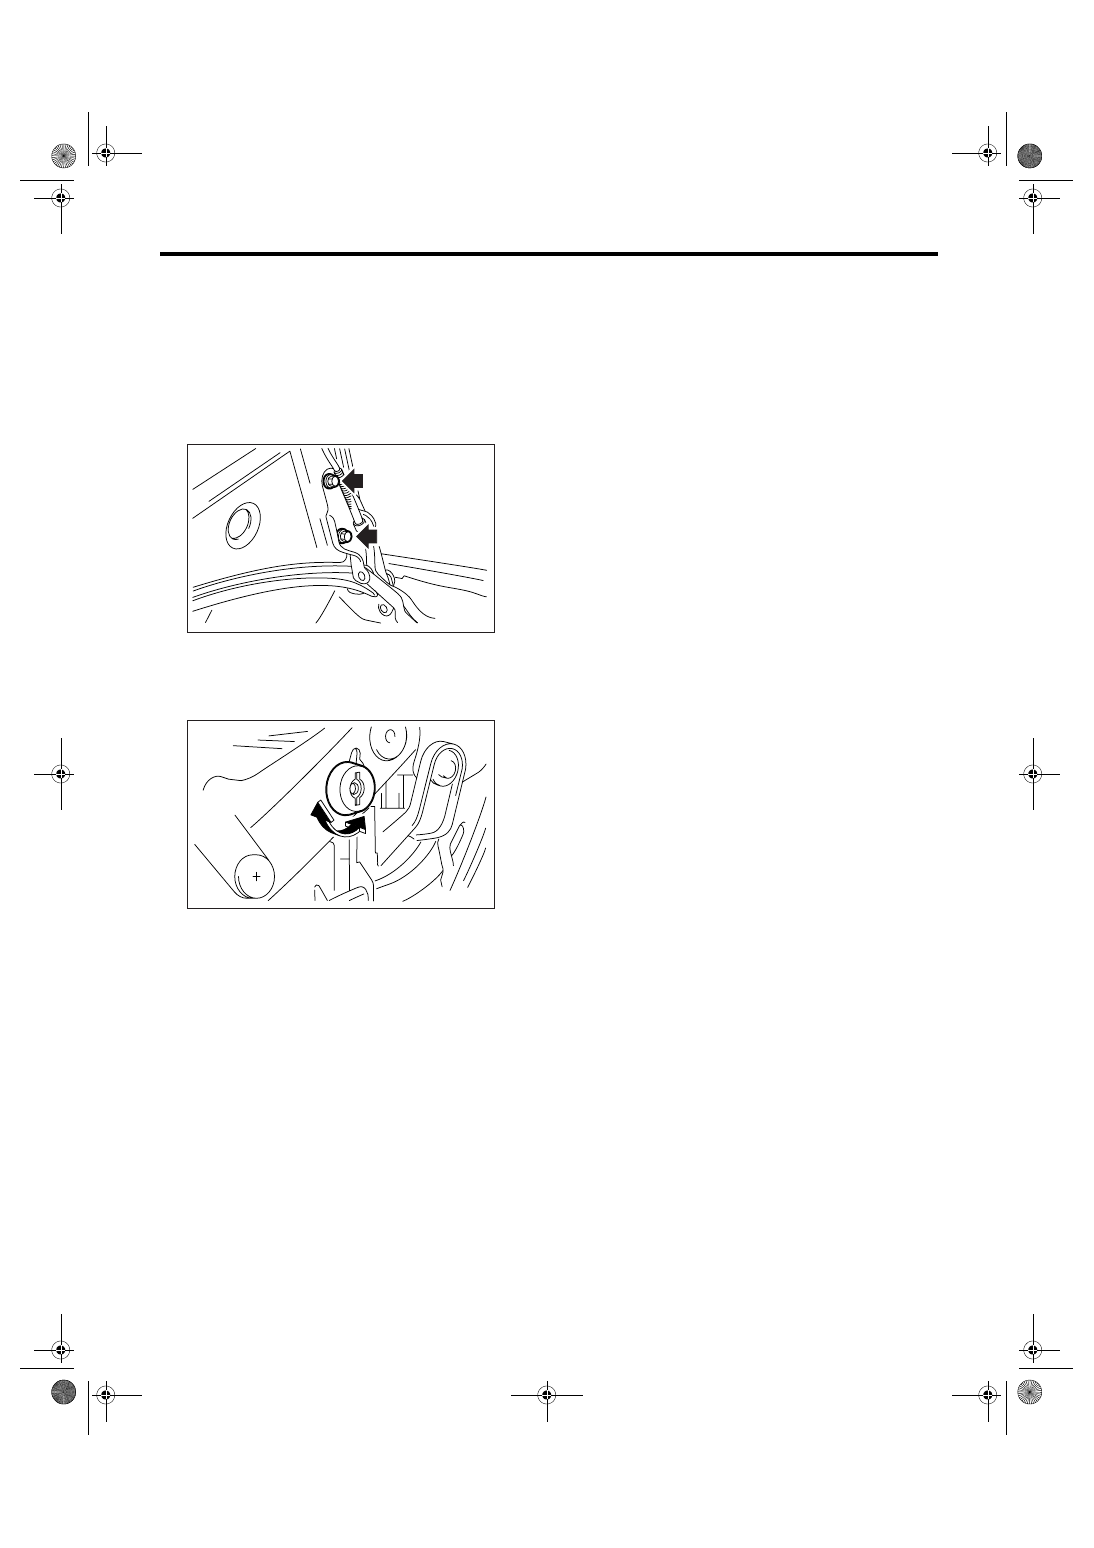
3. FRONT HOOD HINGE
Install in the reverse order of removal.
Tightening torque:
24.5 N
⋅
m (2.5 kgf-m, 18.1 ft-lb)
4. FRONT HOOD STRIKER
Install in the reverse order of removal.
Tightening torque:
33.0 N
⋅
m (3.4 kgf-m, 24.5 ft-lb)
5. FRONT HOOD PANEL
Install in the reverse order of removal.
Tightening torque:
24.5 N
⋅
m (2.5 kgf-m, 18.1 ft-lb)
EB-00144
EB-00137
EB-00138
EB-15
EXTERIOR BODY PANELS
Front Hood
C: ADJUSTMENT
1) Adjust the clearance between front hood panel
and front fender panel. Clearance must be equal at
both sides. For the dimension of clearance, refer to
“SPECIFICATIONS” in “General Description”.
<Ref. to EB-2, SPECIFICATION, General Descrip-
tion.>
2) Use a hinge mounting bolts to align the front
hood longitudinally and laterally.
3) Adjust the height at the front end of hood. <Ref.
to SL-38, ADJUSTMENT, Front Hood Lock Assem-
bly.>
4) Rotate the hood buffer to adjust lateral height.
EB-00138
EB-00164
EB-16
EXTERIOR BODY PANELS
Front Fender
3. Front Fender
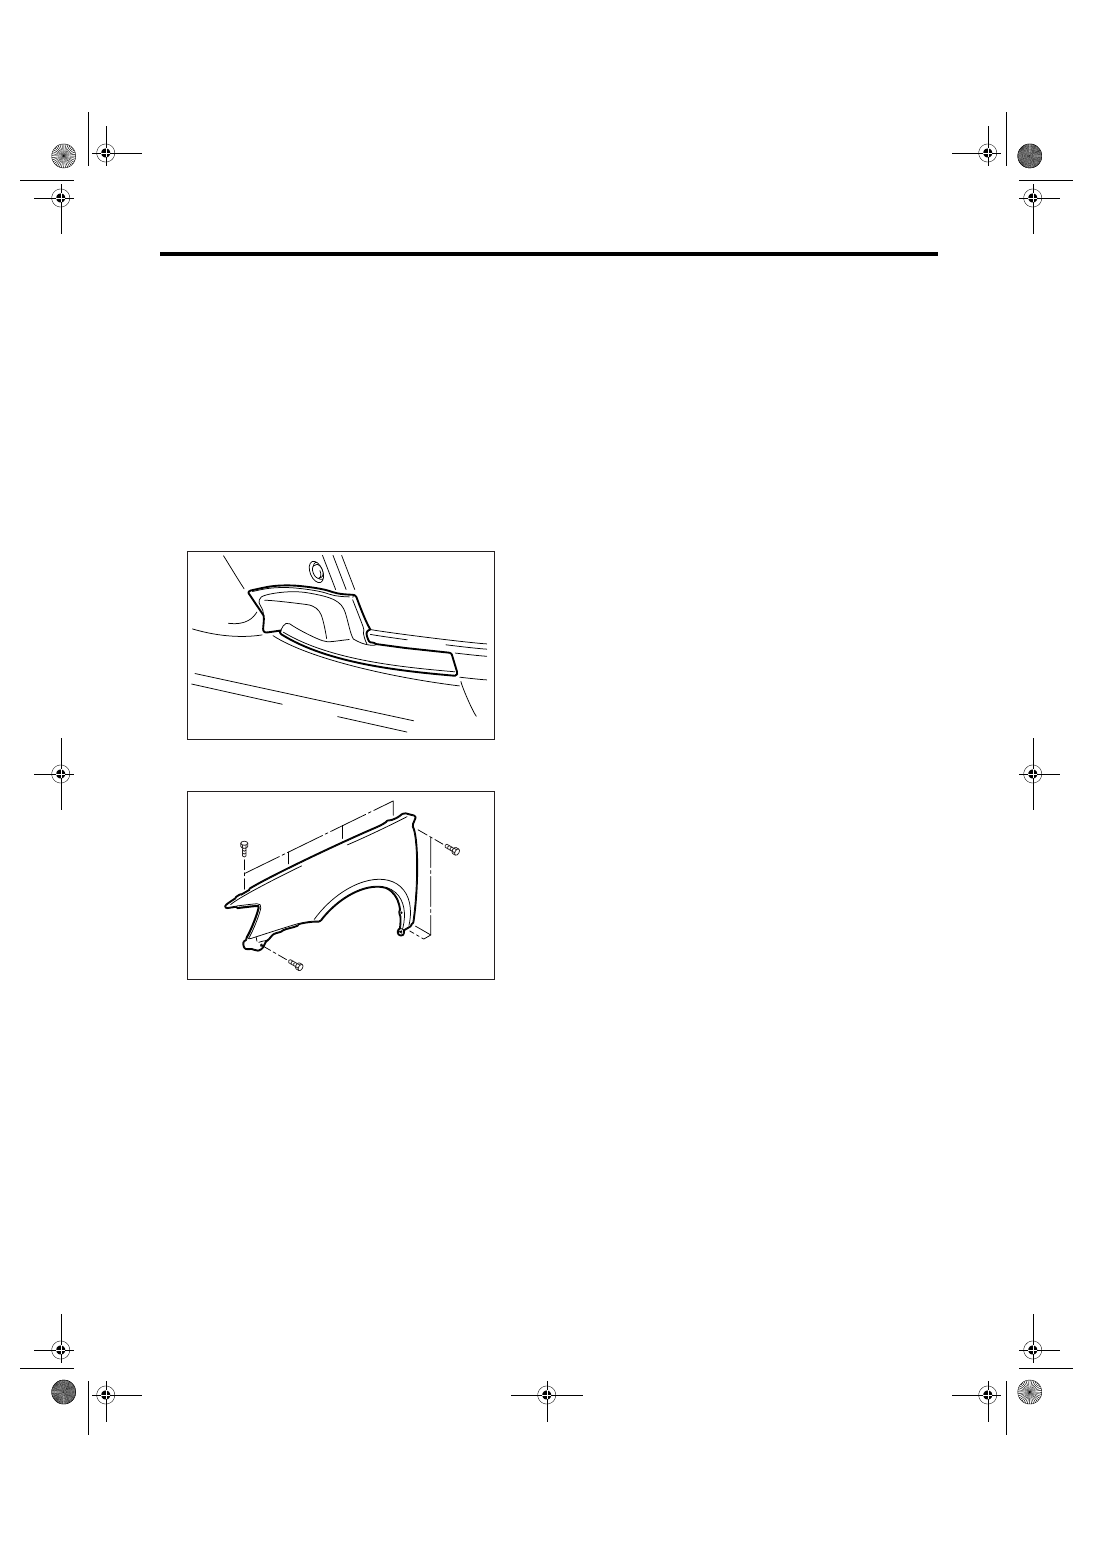
A: REMOVAL
1) Disconnect the ground cable from battery.
2) Remove the side sill spoilers. <Ref. to EI-41, RE-
MOVAL, Side Sill Spoiler.>
3) Remove the front grille. <Ref. to EI-24, REMOV-
AL, Front Grille.>
4) Remove the front bumper face. <Ref. to EI-30,
REMOVAL, Front Bumper.>
5) Remove the headlight assembly. <Ref. to LI-14,
REMOVAL, Headlight Assembly.>
6) Remove the mud guard. <Ref. to EI-29, RE-
MOVAL, Mud Guard.>
7) Remove the cowl side panel.
8) Remove the bolt, and remove the front fender
panel.
B: INSTALLATION
1) Install in the reverse order of removal.
2) Install with attention to make uniform clearance
between front fender panel and front hood panel.
For the dimension of clearance, refer to “SPECIFI-
CATIONS” in “General Description”. <Ref. to EB-2,
SPECIFICATION, General Description.>
Tightening torque:
7.4 N
⋅
m (0.75 kgf-m, 5.5 ft-lb)
EB-00147
EB-00146
Нет комментариевНе стесняйтесь поделиться с нами вашим ценным мнением.
Текст