Subaru Legacy (2005 year). Service manual — part 251
FU(H4DOTC)-29
FUEL INJECTION (FUEL SYSTEMS)
Fuel Injector
11.Fuel Injector
A: REMOVAL
1. RH SIDE
1) Release the fuel pressure.
<Ref. to FU(H4DOTC)-39, RELEASING OF FUEL
PRESSURE, PROCEDURE, Fuel.>
2) Open the fuel filler flap lid, and remove the fuel
filler cap.
3) Remove the collector cover.
4) Disconnect the ground cable from battery.
5) Remove the coolant filler tank. <Ref. to
CO(H4DOTC)-31, REMOVAL, Coolant Filler
Tank.>
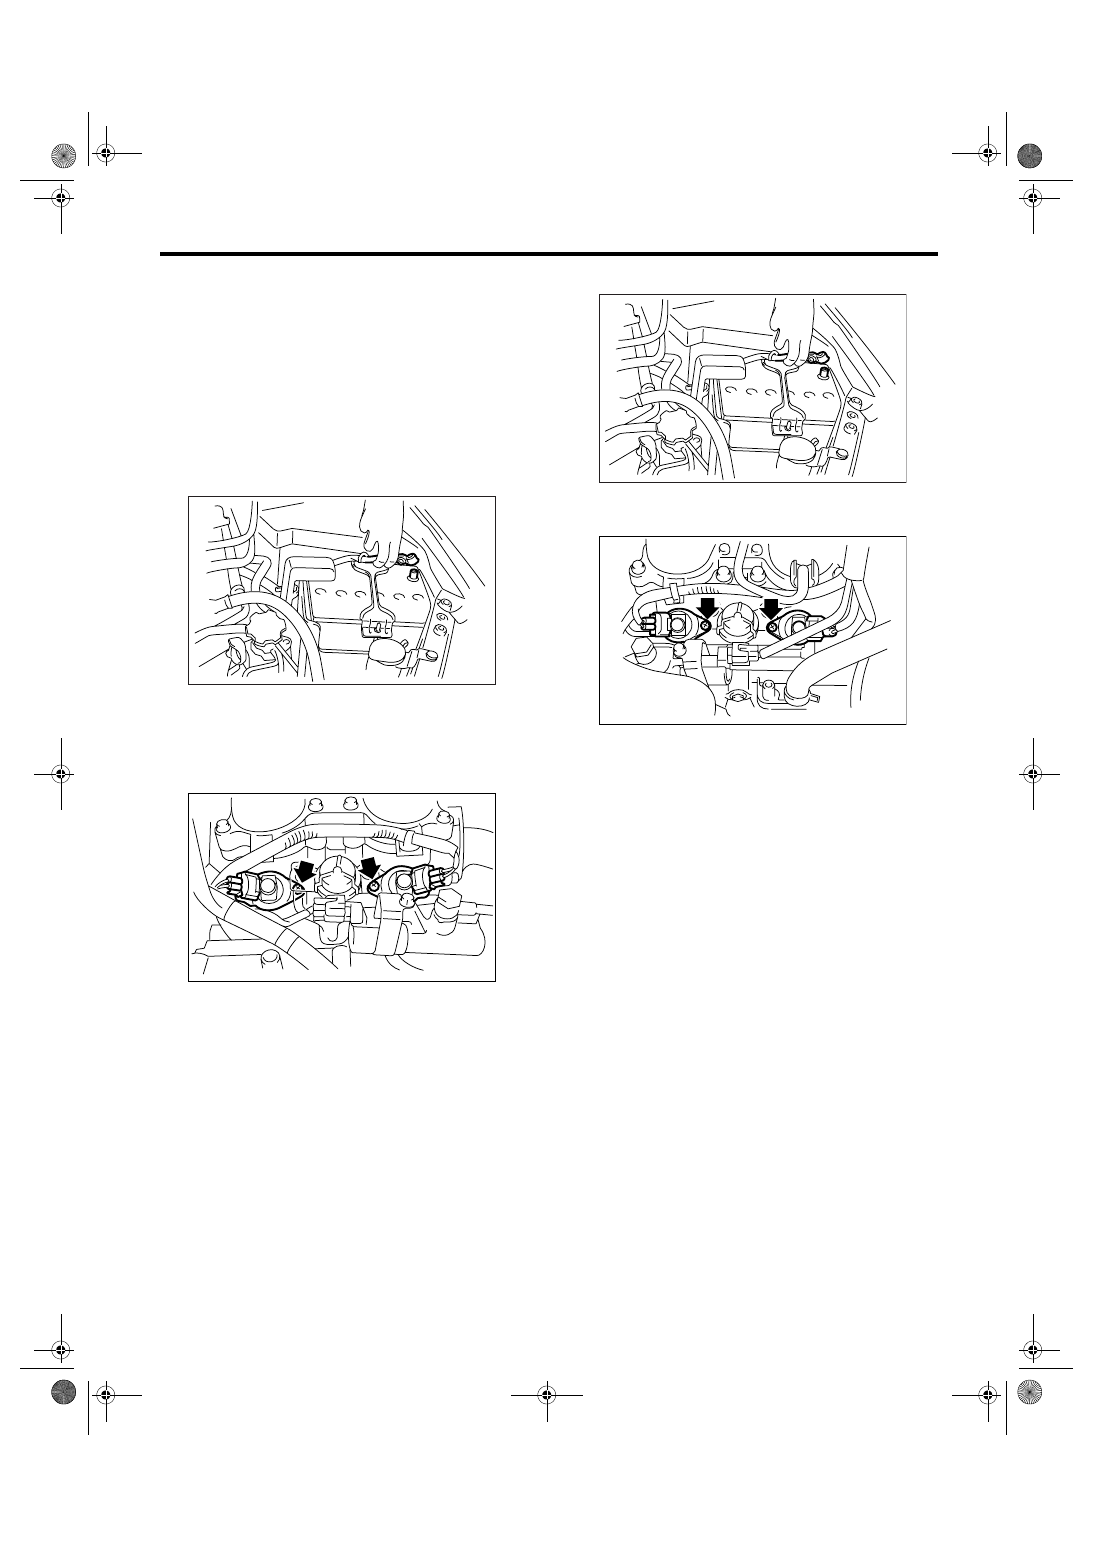
6) Disconnect the connector from fuel injector.
7) Remove the screw and remove the fuel injector.
2. LH SIDE
1) Release the fuel pressure.
<Ref. to FU(H4DOTC)-39, RELEASING OF FUEL
PRESSURE, PROCEDURE, Fuel.>
2) Open the fuel filler flap lid, and remove the fuel
filler cap.
3) Remove the collector cover.
4) Disconnect the ground cable from battery.
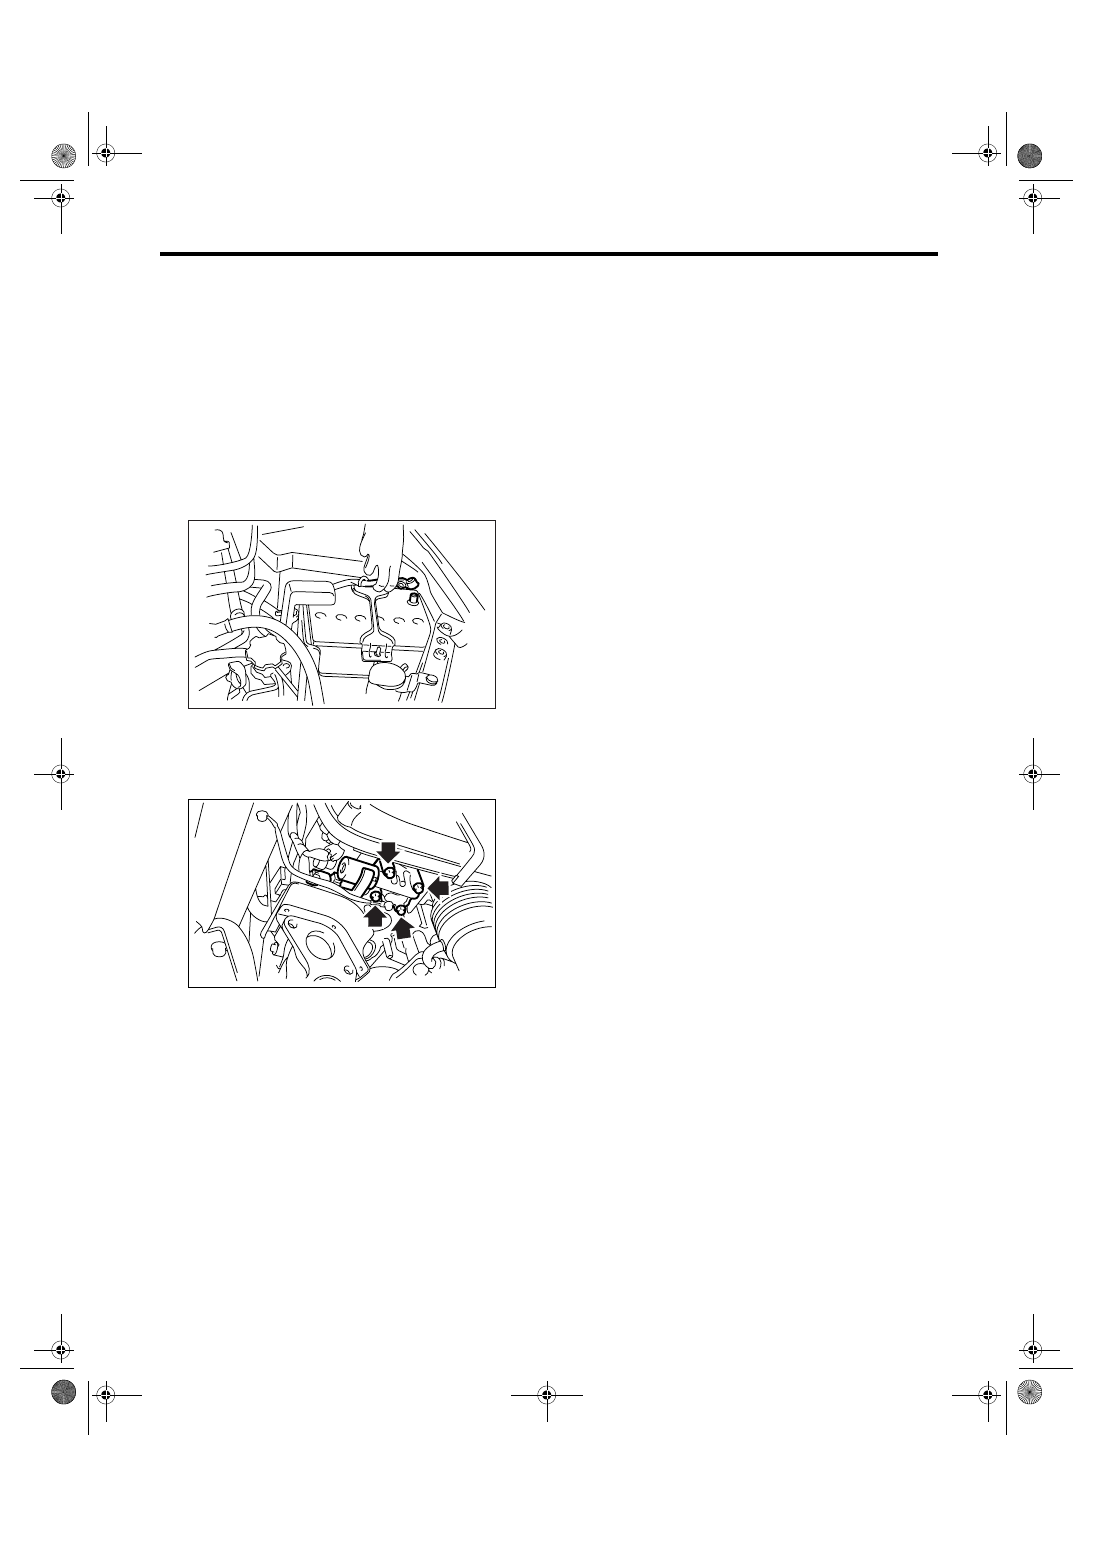
5) Disconnect the connector from fuel injector.
6) Remove the screw and remove the fuel injector.
B: INSTALLATION
1. RH SIDE
Install in the reverse order of removal.
NOTE:
Use a new O-ring.
Tightening torque:
3.5 N
⋅
m (0.36 kgf-m, 2.6 ft-lb)
2. LH SIDE
Install in the reverse order of removal.
NOTE:
Use a new O-ring.
Tightening torque:
3.5 N
⋅
m (0.36 kgf-m, 2.6 ft-lb)
IN-00203
FU-01189
IN-00203
FU-01190
FU(H4DOTC)-30
FUEL INJECTION (FUEL SYSTEMS)
Oil Flow Control Solenoid Valve
12.Oil Flow Control Solenoid
Valve
A: REMOVAL
1. INTAKE SIDE
Oil flow control solenoid valve is a unit with cam-
shaft cap.
Refer to “Camshaft” for removal. <Ref. to
ME(H4DOTC)-56, REMOVAL, Camshaft.>
2. EXHAUST SIDE
1) Disconnect the ground cable from battery.
2) Lift-up the vehicle.
3) Remove the under cover.
4) Remove the oil flow control solenoid valve from
cylinder head.
B: INSTALLATION
1. INTAKE SIDE
Install in the reverse order of removal.
2. EXHAUST SIDE
Install in the reverse order of removal.
IN-00203
FU-01191
FU(H4DOTC)-31
FUEL INJECTION (FUEL SYSTEMS)
Wastegate Control Solenoid Valve
13.Wastegate Control Solenoid
Valve
A: REMOVAL
1) Remove the collector cover.
2) Disconnect the ground cable from battery.
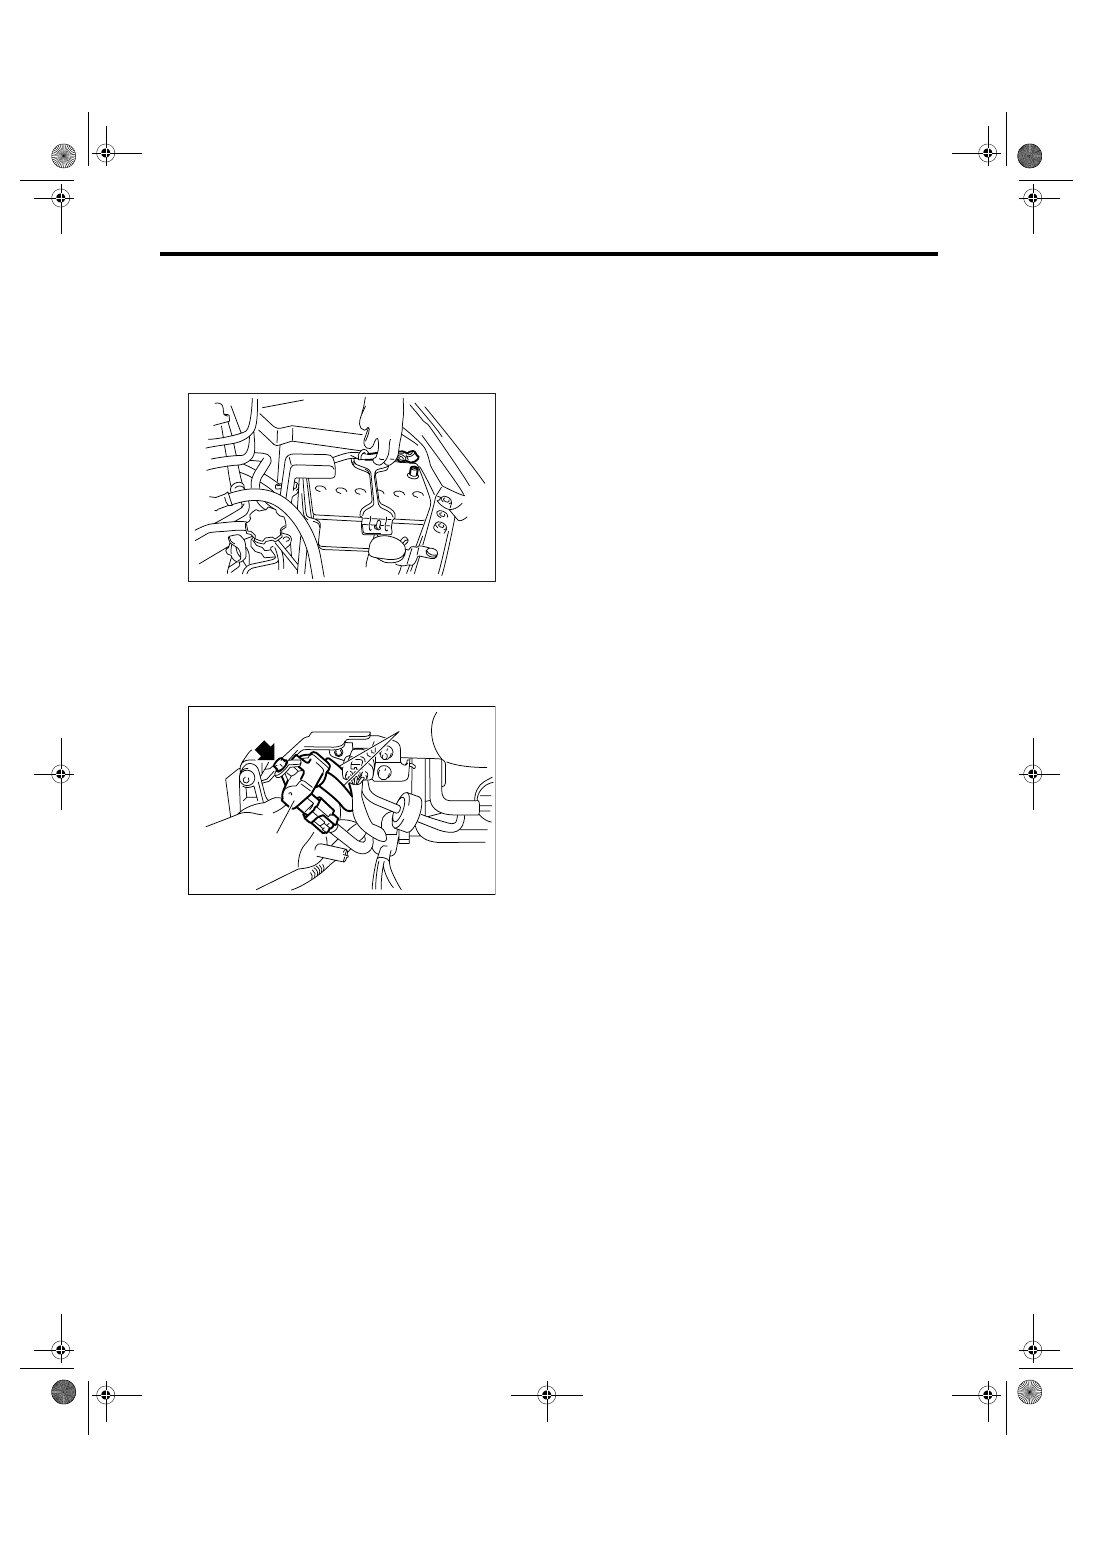
3) Disconnect the connector from wastegate con-
trol solenoid valve (A).
4) Disconnect the pressure hose (B) from waste-
gate control solenoid valve.
5) Remove the wastegate control solenoid valve
from bracket.
B: INSTALLATION
Install in the reverse order of removal.
Tightening torque:
6.5 N
⋅
m (0.66 kgf-m, 4.8 ft-lb)
IN-00203
FU-01192
(A)
(B)
FU(H4DOTC)-32
FUEL INJECTION (FUEL SYSTEMS)
Front Oxygen (A/F) Sensor
14.Front Oxygen (A/F) Sensor
A: REMOVAL
1) Remove the collector cover.
2) Disconnect the ground cable from battery.
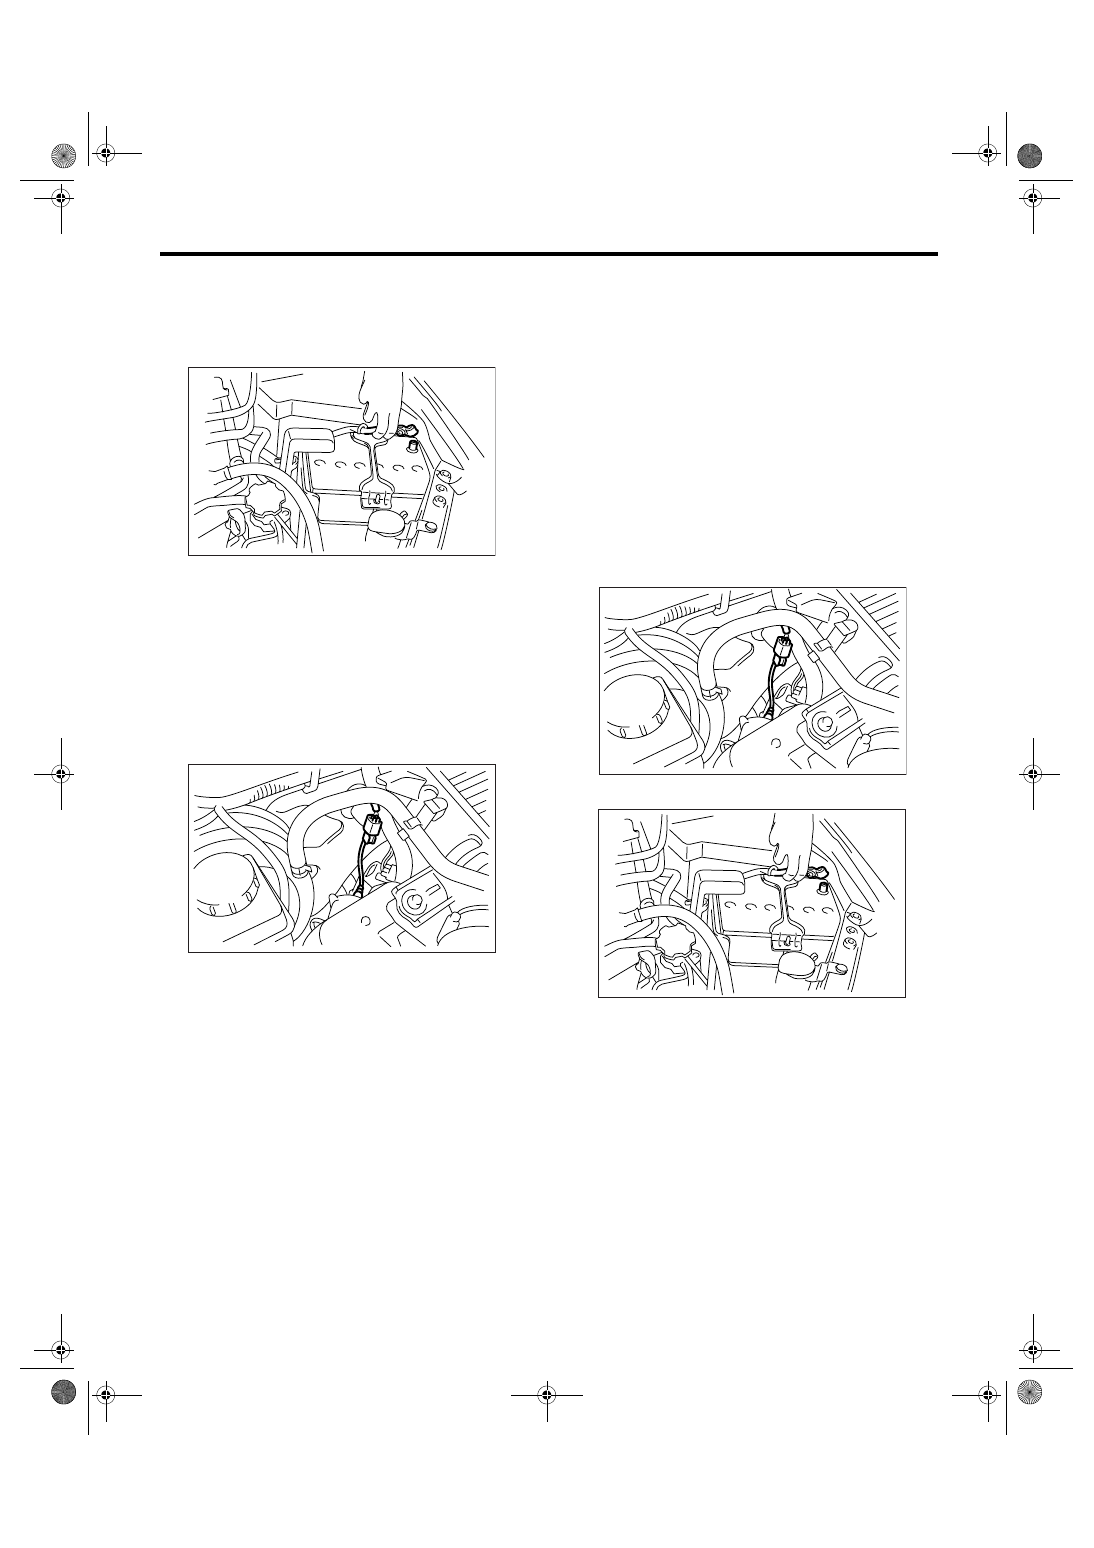
3) Disconnect the connector from front oxygen (A/
F) sensor.
4) Apply spray-type lubricant to the threaded por-
tion of front oxygen (A/F) sensor, and leave it for
one minute or more.
5) Remove the front oxygen (A/F) sensor.
CAUTION:
When removing the oxygen (A/F) sensor, wait
until exhaust pipe cools, otherwise it will dam-
age exhaust pipe.
B: INSTALLATION
1) Before installing front oxygen (A/F) sensor, ap-
ply anti-seize compound only to the threaded por-
tion of front oxygen (A/F) sensor to make the next
removal easier.
Anti-seize compound:
SS-30 JET LUBE
CAUTION:
Never apply anti-seize compound to protector
of front oxygen (A/F) sensor.
2) Install the front oxygen (A/F) sensor.
Tightening torque:
21 N
⋅
m (2.1 kgf-m, 15.2 ft-lb)
3) Connect the connector of front oxygen (A/F)
sensor.
4) Connect the ground cable to battery.
5) Install the collector cover.
IN-00203
FU-01193
FU-01193
IN-00203
Нет комментариевНе стесняйтесь поделиться с нами вашим ценным мнением.
Текст