Subaru Legacy (2005 year). Service manual — part 290
EX(H4DOTC)-3
EXHAUST
General Description
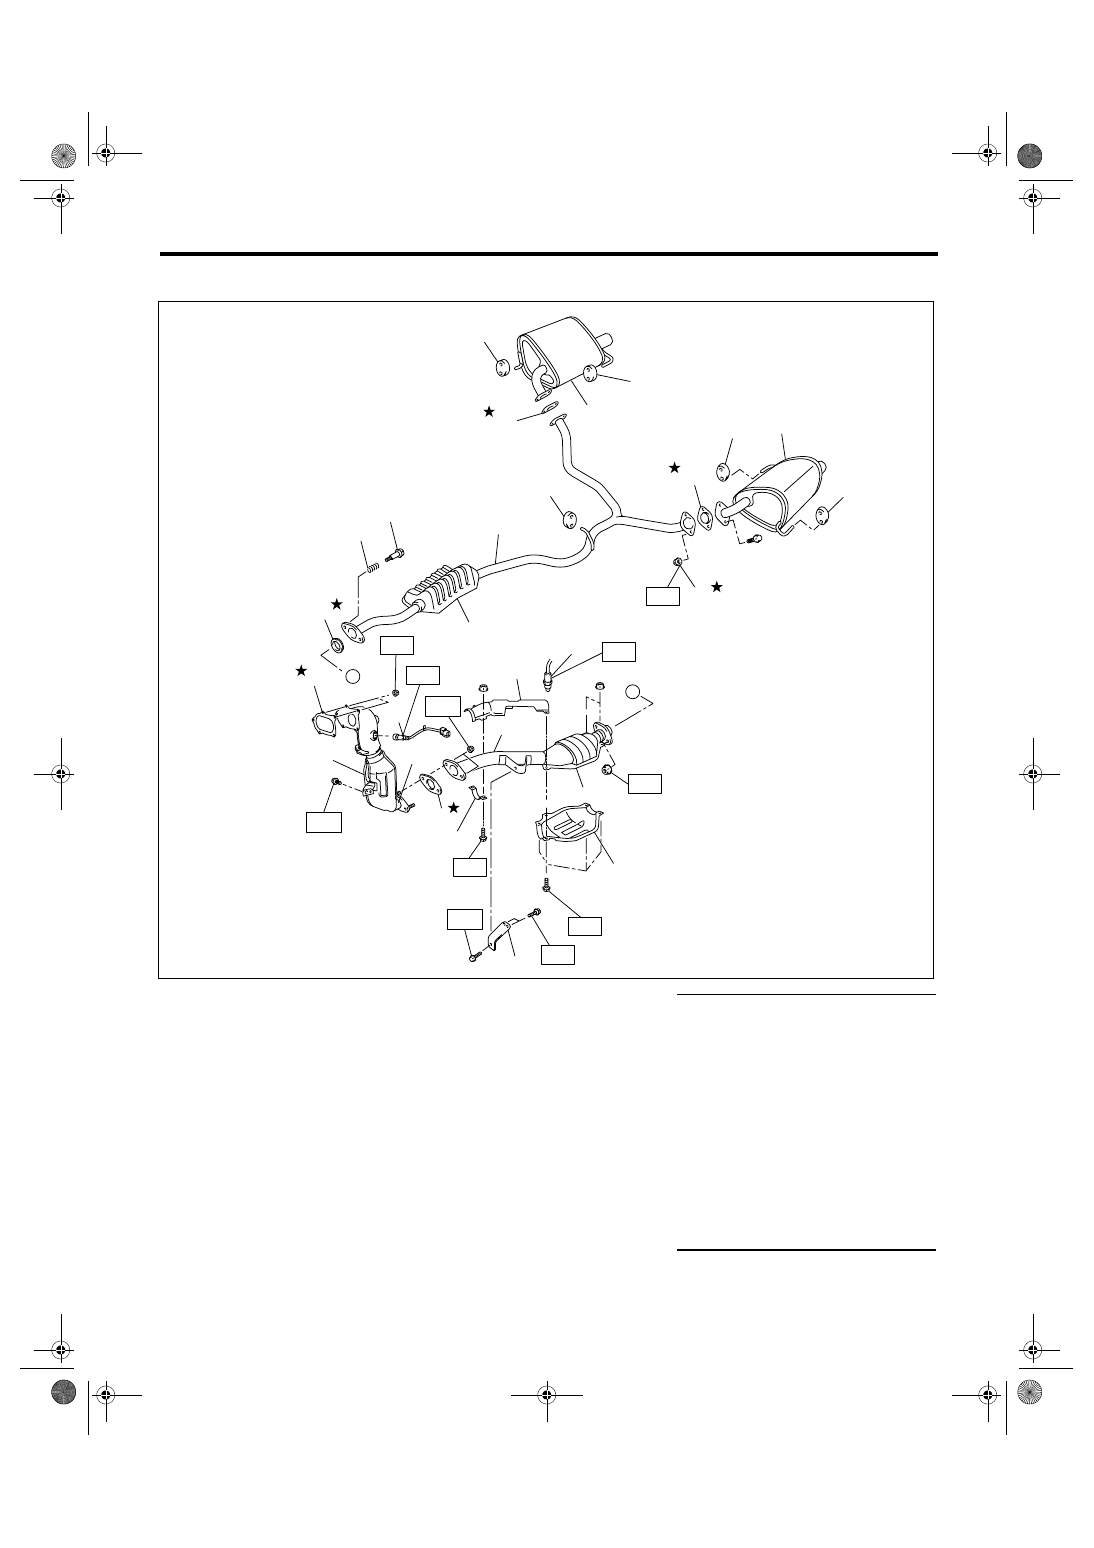
2. CENTER AND REAR EXHAUST PIPE, AND MUFFLER
(1)
Gasket
(13)
Rear exhaust pipe
Tightening torque: N
⋅
m (kgf-m, ft-lb)
(2)
Front catalytic converter
(14)
Chamber
T1: 13 (1.3, 9.6)
(3)
Center exhaust pipe (Front)
(15)
Cushion rubber
T2: 18 (1.8, 13.3)
(4)
Front oxygen (A/F) sensor
(16)
Spring
T3: 23 (2.3, 17.0)
(5)
Bracket
(17)
Bolt
T4: 30 (3.1, 22.1)
(6)
Gasket
(18)
Gasket
T5: 35 (3.6, 26.0)
(7)
Center pipe upper cover (Rear)
(19)
Muffler (RH)
T6: 48 (4.9, 35.4)
(8)
Clamp
(20)
Self-locking nut
INSTALLATION, Front Oxygen
(A/F) Sensor.>
(9)
Rear catalytic converter lower
cover
(21)
Muffler (LH)
(22)
Center exhaust pipe (Rear)
(10)
Rear oxygen sensor
INSTALLATION, Rear Oxygen
Sensor.>
(11)
Rear catalytic converter
(12)
Gasket
EX-02106
A
(12)
(11)
A
T5
T5
T4
(1)
(2)
(5)
T2
T8
(7)
(10)
(9)
(22)
(6)
T1
T1
(13)
(14)
(17)
(16)
(15)
(15)
(18)
(15)
(18)
(21)
(19)
(3)
(4)
(20)
T6
(15)
(15)
T5
T3
(8)
T7
EX(H4DOTC)-4
EXHAUST
General Description
B: CAUTION
• Wear work clothing, including a cap, protective
goggles and protective shoes during operation.
• Remove contamination including dirt and corro-
sion before removal, installation or disassembly.
• Keep the disassembled parts in order and pro-
tect them from dust and dirt.
• Before removal, installation or disassembly, be
sure to clarify the failure. Avoid unnecessary re-
moval, installation, disassembly and replacement.
• Be careful not to burn yourself, because each
part on the vehicle is hot after running.
• Be sure to tighten fasteners including bolts and
nuts to the specified torque.
• Place shop jacks or rigid racks at the specified
points.
• Before disconnecting connectors of sensors or
units, be sure to disconnect the ground cable from
battery.
EX(H4DOTC)-5
EXHAUST
Front Exhaust Pipe
2. Front Exhaust Pipe
A: REMOVAL
1) Lift-up the vehicle.
2) Remove the under cover.
3) Remove the front exhaust pipe cover.
4) Remove the nuts which hold front exhaust pipe
assembly onto turbocharger joint pipe.
5) While holding the front exhaust pipe assembly,
remove the nuts which hold front exhaust pipe as-
sembly to cylinder head exhaust port.
6) Remove the front exhaust pipe assembly.
B: INSTALLATION
NOTE:
Use a new gasket.
1) Install the front exhaust pipe assembly.
Tightening torque:
30 N
⋅
m (3.1 kgf-m, 22.1 ft-lb)
2) Install the front exhaust pipe assembly to turbo-
charger joint pipe.
Tightening torque:
35 N
⋅
m (3.6 kgf-m, 26.0 ft-lb)
3) Install the front exhaust pipe cover.
4) Install the under cover.
5) Lower the vehicle.
C: INSPECTION
1) Check the connections and welds for exhaust
leaks.
2) Check for hole or rust.
EX-00201
EX-00202
EX-00202
EX-00201
EX(H4DOTC)-6
EXHAUST
Center Exhaust Pipe
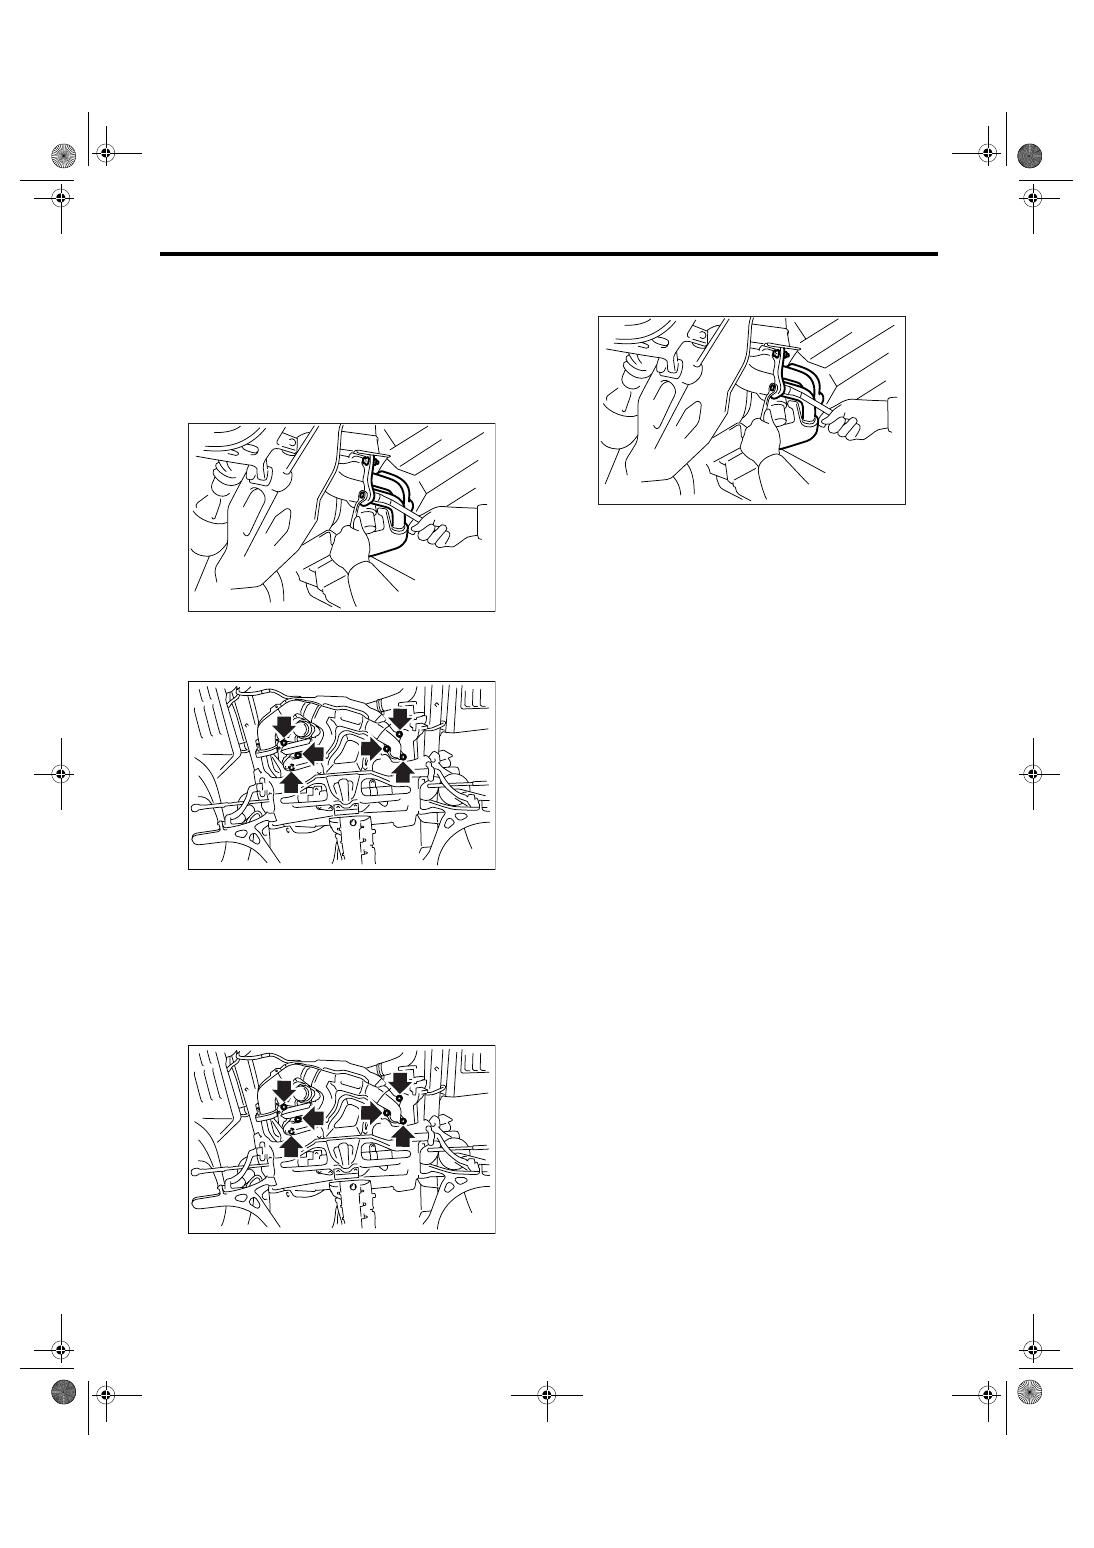
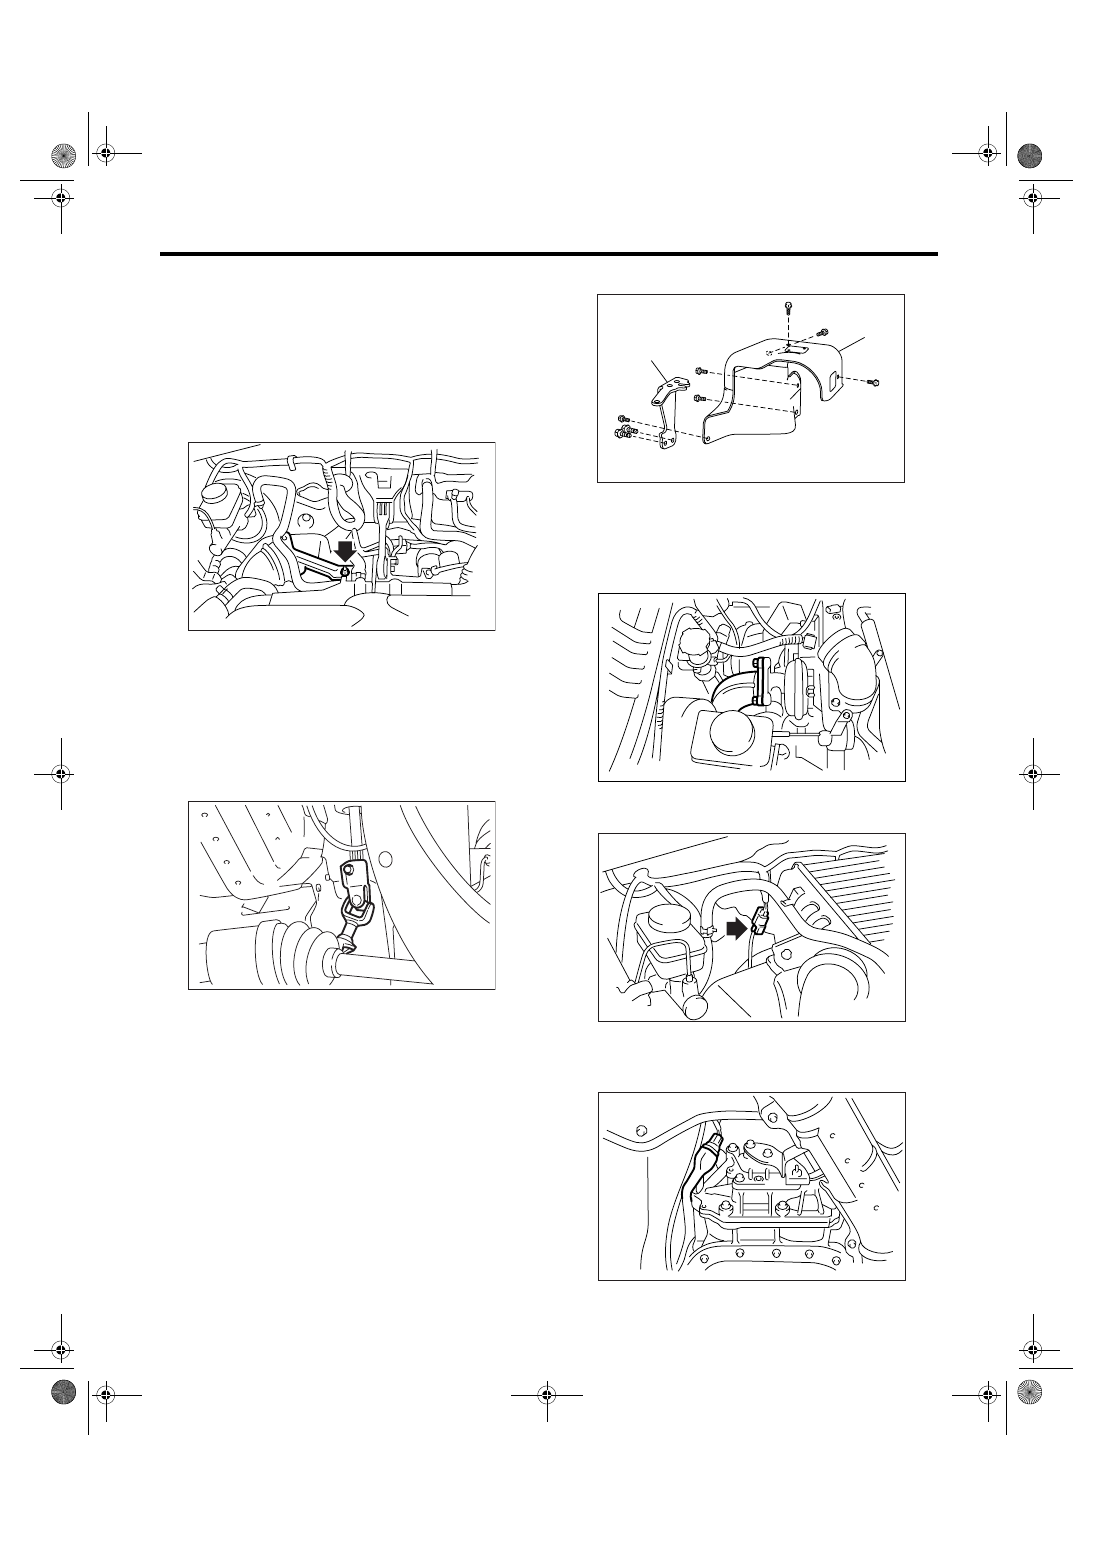
3. Center Exhaust Pipe
A: REMOVAL
1) Set the vehicle on a lift.
2) Remove the collector cover.
3) Disconnect the ground cable from battery.
4) Remove the intercooler. <Ref. to IN(H4DOTC)-
12, REMOVAL, Intercooler.>
5) Remove the intercooler bracket.
6) Lift-up the vehicle.
7) Remove the under cover.
8) Remove the universal joint bolts and then re-
move the universal joint.
CAUTION:
Scribe alignment marks on the universal joint
so that it can be reassembled at the original
serration.
9) Lower the vehicle.
10) Remove the linear motion mounting.
<Ref. to ME(H4DOTC)-38, REMOVAL, Linear Mo-
tion Mounting.>
11) Remove the linear motion mounting bracket.
12) Remove the turbocharger cover.
13) Separate the center exhaust pipe from turbo-
charger.
14) Disconnect the connector from front oxygen (A/
F) sensor.
15) Lift-up the vehicle.
16) Disconnect the connector from rear oxygen
sensor.
EX-00203
EX-00008
(A) Linear motion mounting bracket
(B) Turbocharger cover
(B)
(A)
EX-00249
EX-00204
EX-00205
EX-00206
Нет комментариевНе стесняйтесь поделиться с нами вашим ценным мнением.
Текст