Subaru Legacy (2005 year). Service manual — part 169
FU(H4SO 2.5)-39
FUEL INJECTION (FUEL SYSTEMS)
Fuel Pump Relay
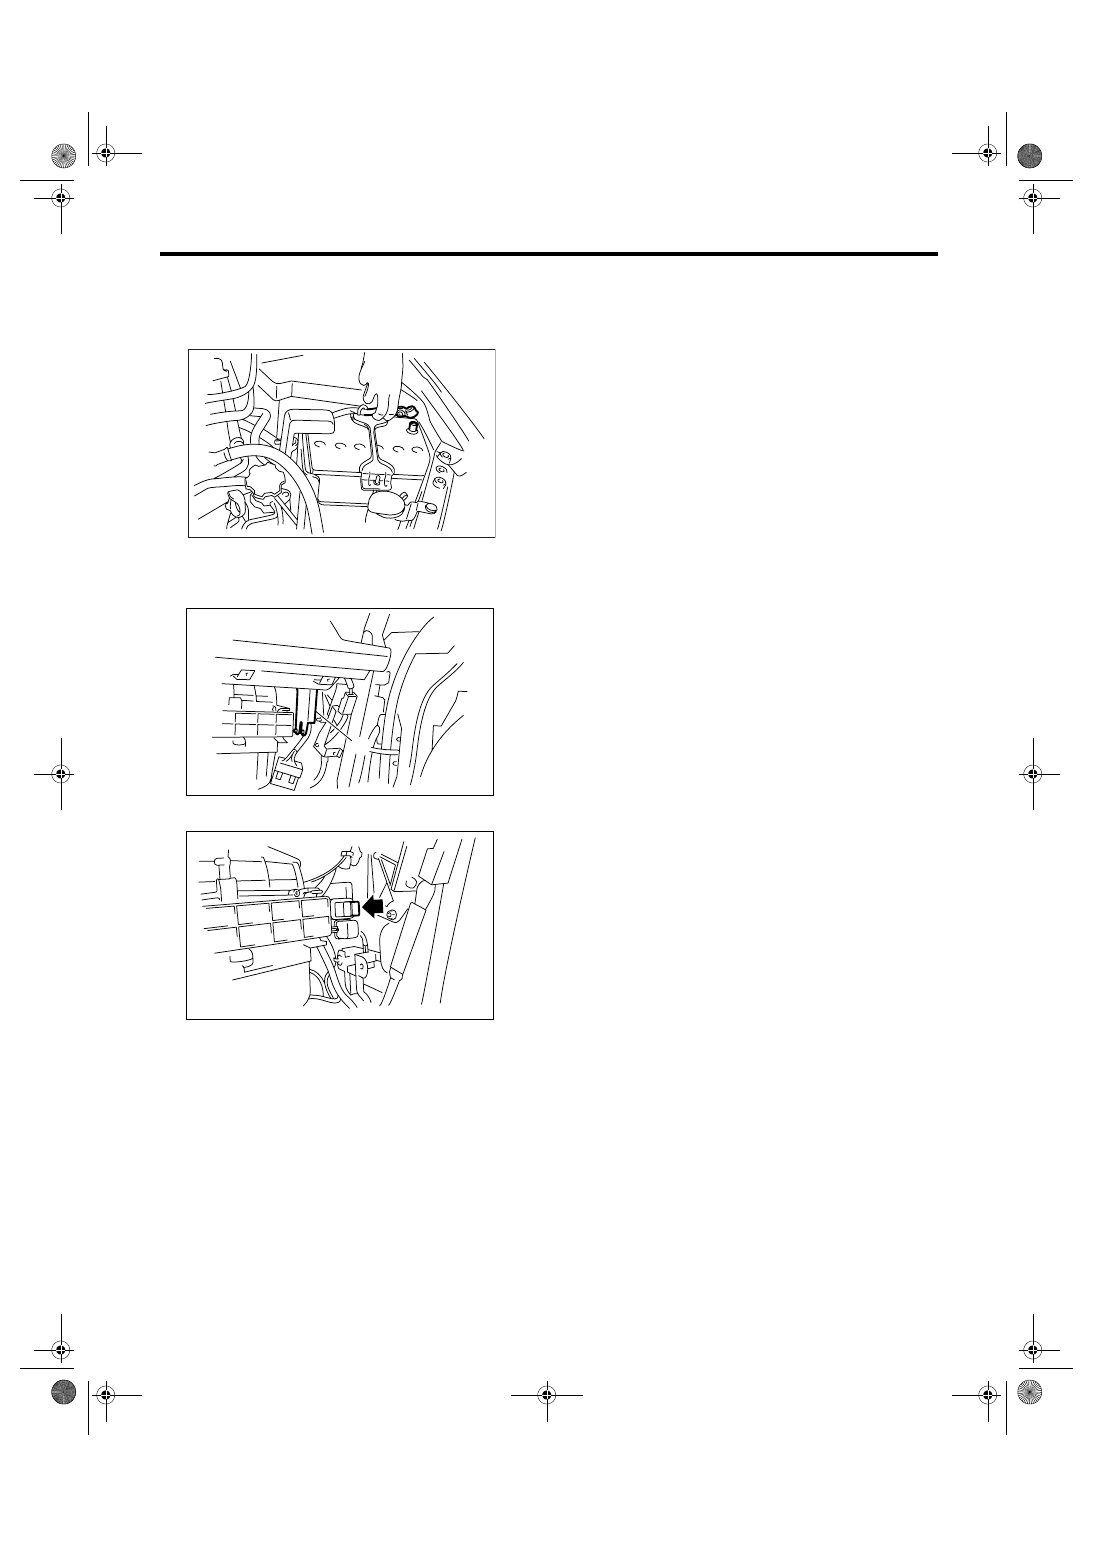
21.Fuel Pump Relay
A: REMOVAL
1) Disconnect the ground cable from battery.
2) Remove the glove box. <Ref. to EI-51, REMOV-
AL, Glove Box.>
3) Remove the harness cover (A).
4) Disconnect the connector from fuel pump relay.
B: INSTALLATION
Install in the reverse order of removal.
IN-00203
FU-02092
(A)
FU-02094
FU(H4SO 2.5)-40
FUEL INJECTION (FUEL SYSTEMS)
Electronic Throttle Control Relay
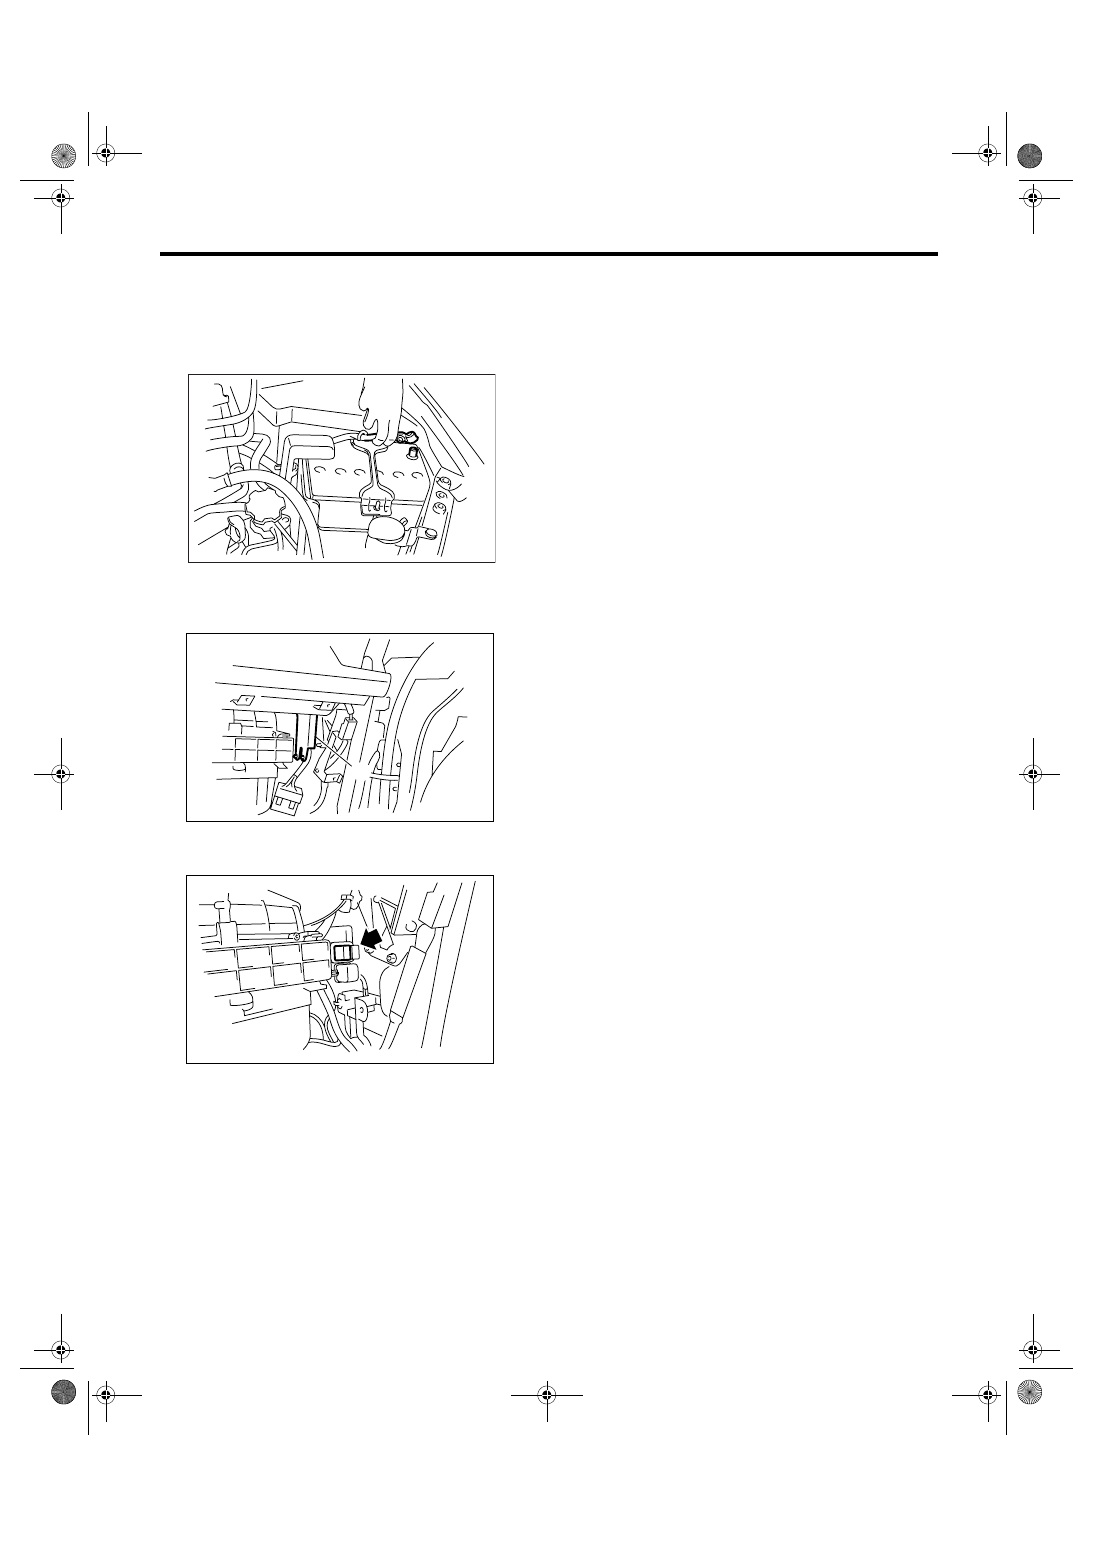
22.Electronic Throttle Control
Relay
A: REMOVAL
1) Disconnect the ground cable from battery.
2) Remove the glove box. <Ref. to EI-51, REMOV-
AL, Glove Box.>
3) Remove the harness cover (A).
4) Disconnect the connector from electronic throttle
control relay.
B: INSTALLATION
Install in the reverse order of removal.
IN-00203
FU-02092
(A)
FU-02095
FU(H4SO 2.5)-41
FUEL INJECTION (FUEL SYSTEMS)
Fuel
23.Fuel
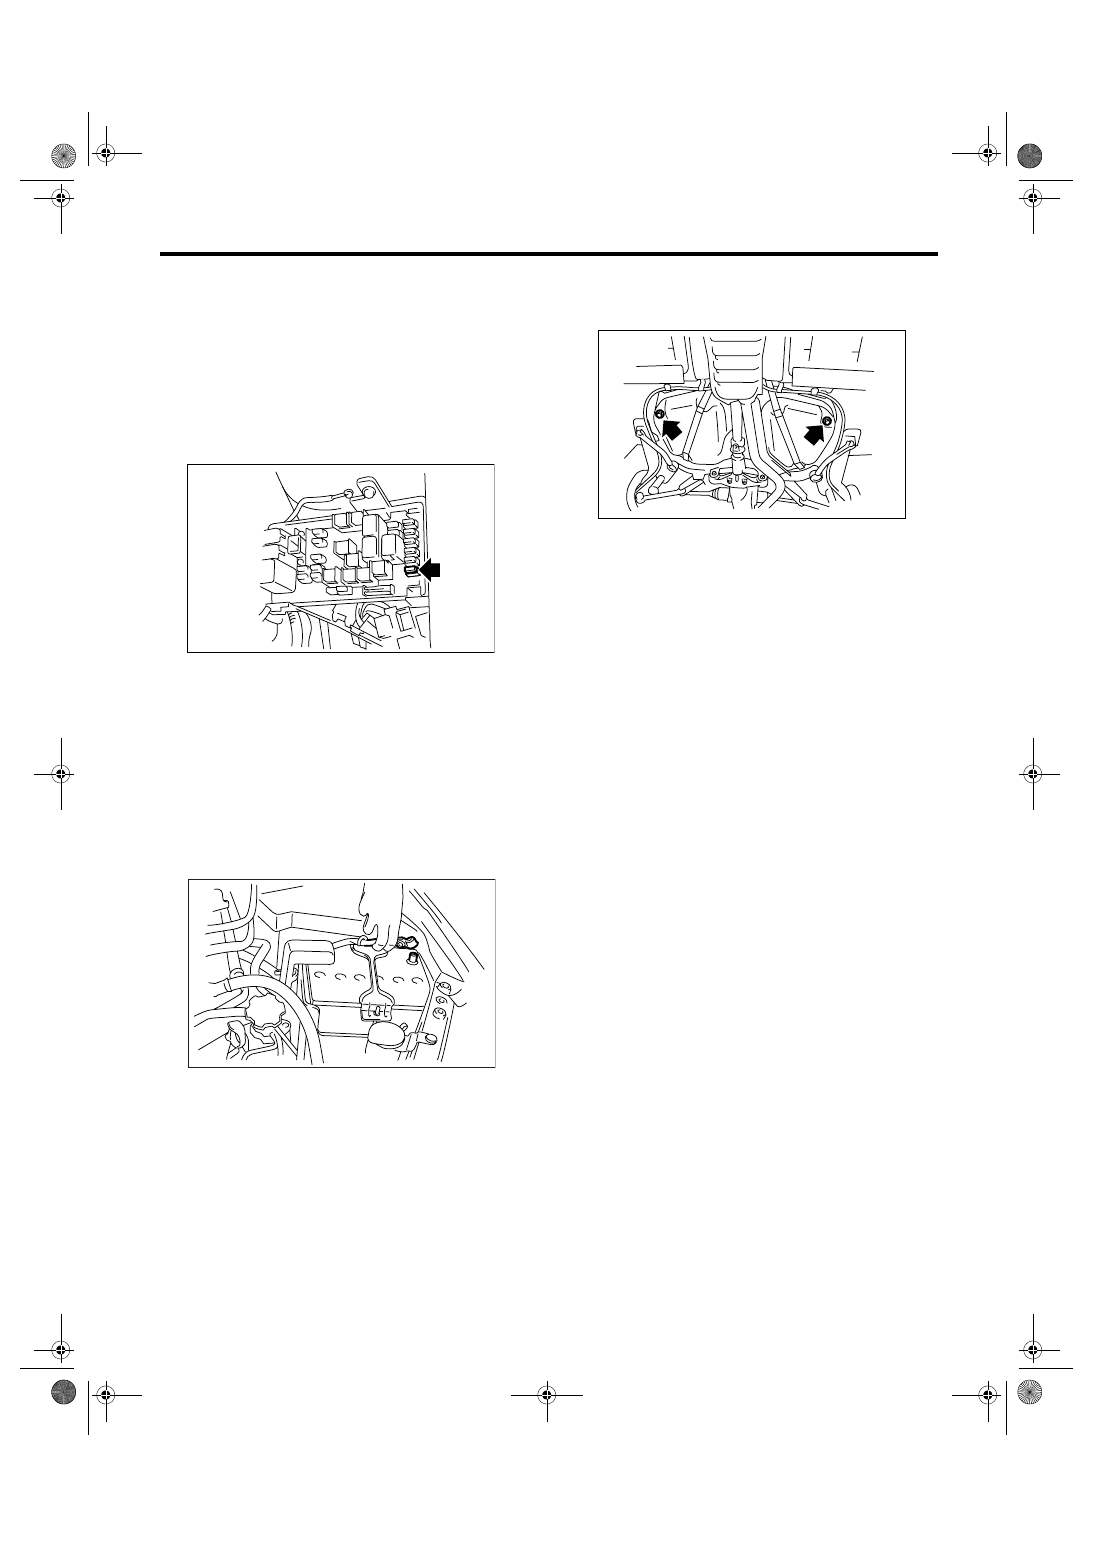
A: PROCEDURE
1. RELEASING OF FUEL PRESSURE
WARNING:
• Place “NO FIRE” signs near the working area.
• Be careful not to spill fuel on the floor.
1) Remove the fuse of fuel pump from main fuse
box.
2) Start the engine and run until it stalls.
3) After the engine stalls, crank it for five more sec-
onds.
4) Turn the ignition switch to OFF.
2. DRAINING FUEL
WARNING:
• Place “NO FIRE” signs near the working area.
• Be careful not to spill fuel on the floor.
1) Set the vehicle on a lift.
2) Disconnect the ground cable from battery.
3) Open the fuel filler flap lid, and remove the fuel
filler cap.
4) Lift-up the vehicle.
5) Remove the fuel tank protector.
6) Set a container under the vehicle and remove
the drain plug from fuel tank to drain fuel from fuel
tank.
7) Tighten the fuel drain plug.
NOTE:
Use a new gasket.
Tightening torque:
26 N
⋅
m (2.65 kgf-m, 19.2 ft-lb)
8) Install the fuel tank protector.
NOTE:
Use a new nut.
Tightening torque:
Nut
9 N
⋅
m (0.9 kgf-m, 6.6 ft-lb)
Bolt
17.5 N
⋅
m (1.78 kgf-m, 12.9 ft-lb)
FU-01122
IN-00203
FU-01123
FU(H4SO 2.5)-42
FUEL INJECTION (FUEL SYSTEMS)
Fuel Tank
24.Fuel Tank
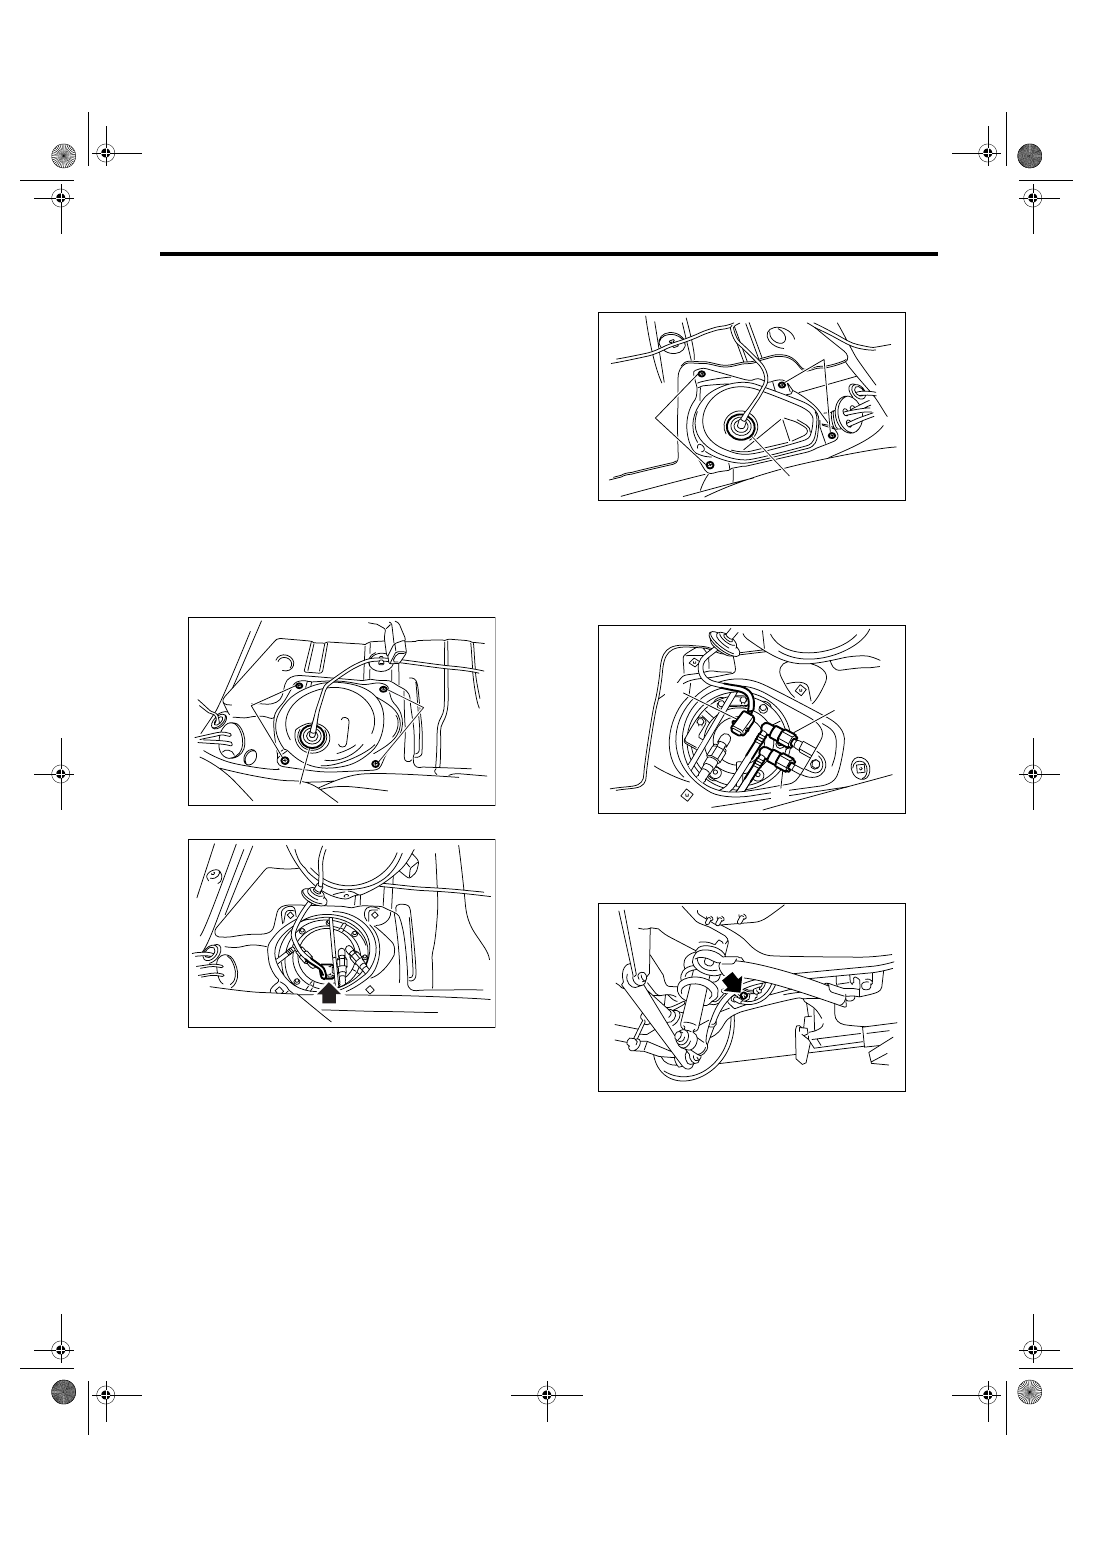
A: REMOVAL
WARNING:
• Place “NO FIRE” signs near the working area.
• Be careful not to spill fuel on the floor.
1) Set the vehicle on a lift.
2) Release the fuel pressure. <Ref. to FU(H4SO
2.5)-41, RELEASING OF FUEL PRESSURE,
PROCEDURE, Fuel.>
3) Drain fuel from fuel tank.
<Ref. to FU(H4SO 2.5)-41, DRAINING FUEL,
PROCEDURE, Fuel.>
4) Remove the rear seat.
5) Remove the service hole cover of fuel pump.
(1) Remove the bolts (A).
(2) Push the grommet (B) down and remove
service hole cover.
6) Disconnect the connector from fuel pump.
7) Remove the service hole cover of fuel sub level
sensor.
(1) Remove the bolts (A).
(2) Push the grommet (B) down and remove
service hole cover.
8) Disconnect the connector (A) from fuel sub level
sensor.
9) Disconnect the quick connector of the fuel deliv-
ery (B) and return hose (C). <Ref. to FU(H4SO
2.5)-56, REMOVAL, Fuel Delivery, Return and
Evaporation Lines.>
10) Lift-up the vehicle.
11) Remove the rear wheels.
12) Remove the bolts which secure the rear brake
hose installation bracket.
FU-01124
(A)
(B)
(A)
FU-01125
FU-01126
(B)
(A)
(A)
FU-01127
(A)
(B)
(C)
FU-01128
Нет комментариевНе стесняйтесь поделиться с нами вашим ценным мнением.
Текст