Subaru Legacy IV (2008 year). Service manual — part 1151
EB-24
Trunk Lid
EXTERIOR BODY PANELS
8. Trunk Lid
A: REMOVAL
1. TORSION BAR
1) Open the trunk lid.
2) Using the ST, remove the torsion bar from the
hinge link.
ST
927780000
REMOVER
CAUTION:
During removal and installation, handle the tor-
sion bar carefully, because it will generate reac-
tive force.
3) Remove the torsion bars RH/LH.
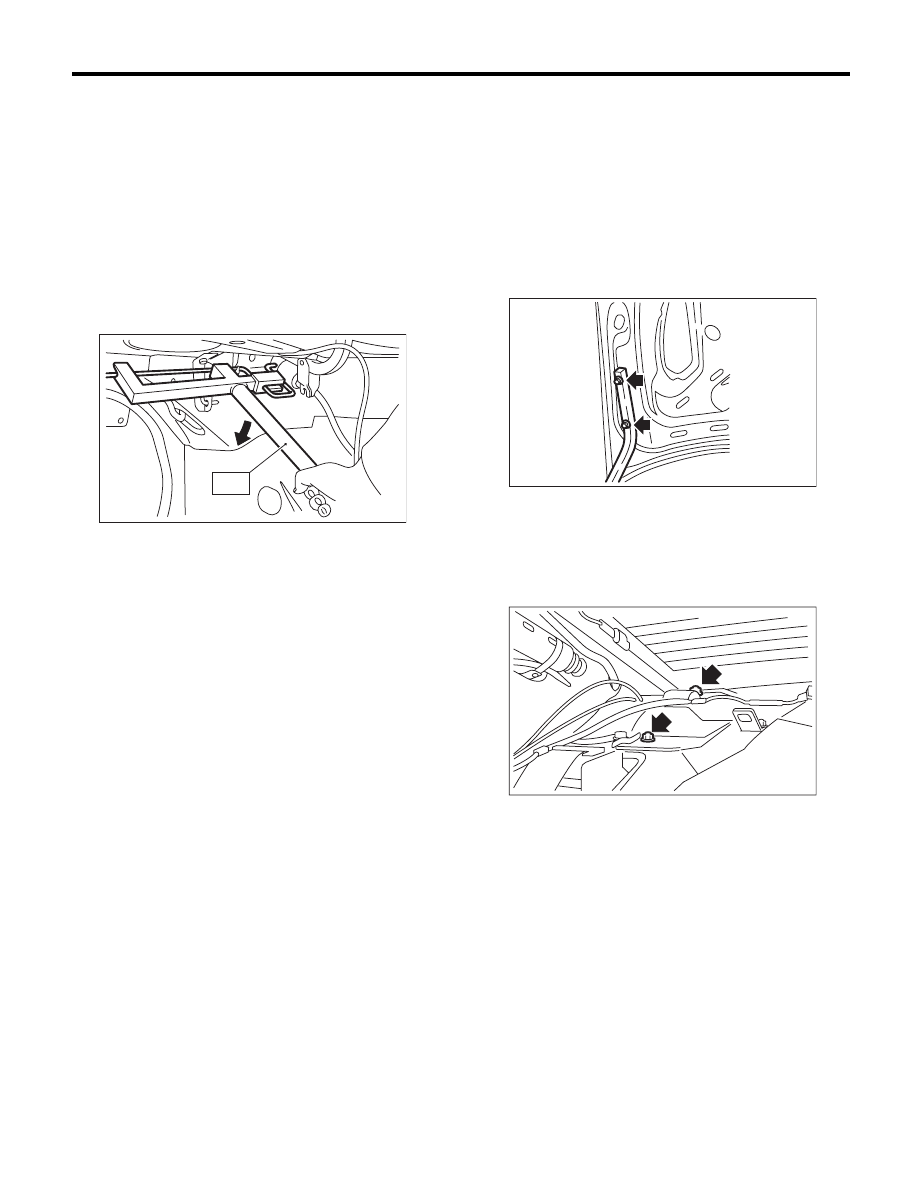
2. TRUNK LID ARM
1) Disconnect the ground cable from battery.
2) Open the trunk lid to remove the trunk lid trim,
trunk lid arm cover and trunk room trim. <Ref. to EI-
70, REMOVAL, Trunk Room Trim.>
3) Disconnect the trunk lid release cable. <Ref. to
SL-44, REMOVAL, Trunk Lid Lock Assembly.>
4) Disconnect the connectors, and remove the har-
ness clip, etc.
5) Remove the trunk lid mounting bolts, to remove
the trunk lid panel from the trunk lid arm.
6) Remove the torsion bar from the trunk lid hinge
link. <Ref. to EB-24, TORSION BAR, REMOVAL,
Trunk Lid.>
7) Remove the rear shelf trim. <Ref. to EI-69, RE-
MOVAL, Rear Shelf Trim.>
8) Remove the bolts, then remove the trunk lid arm.
EB-00067
ST
EB-00066
EB-00157
EB-25
Trunk Lid
EXTERIOR BODY PANELS
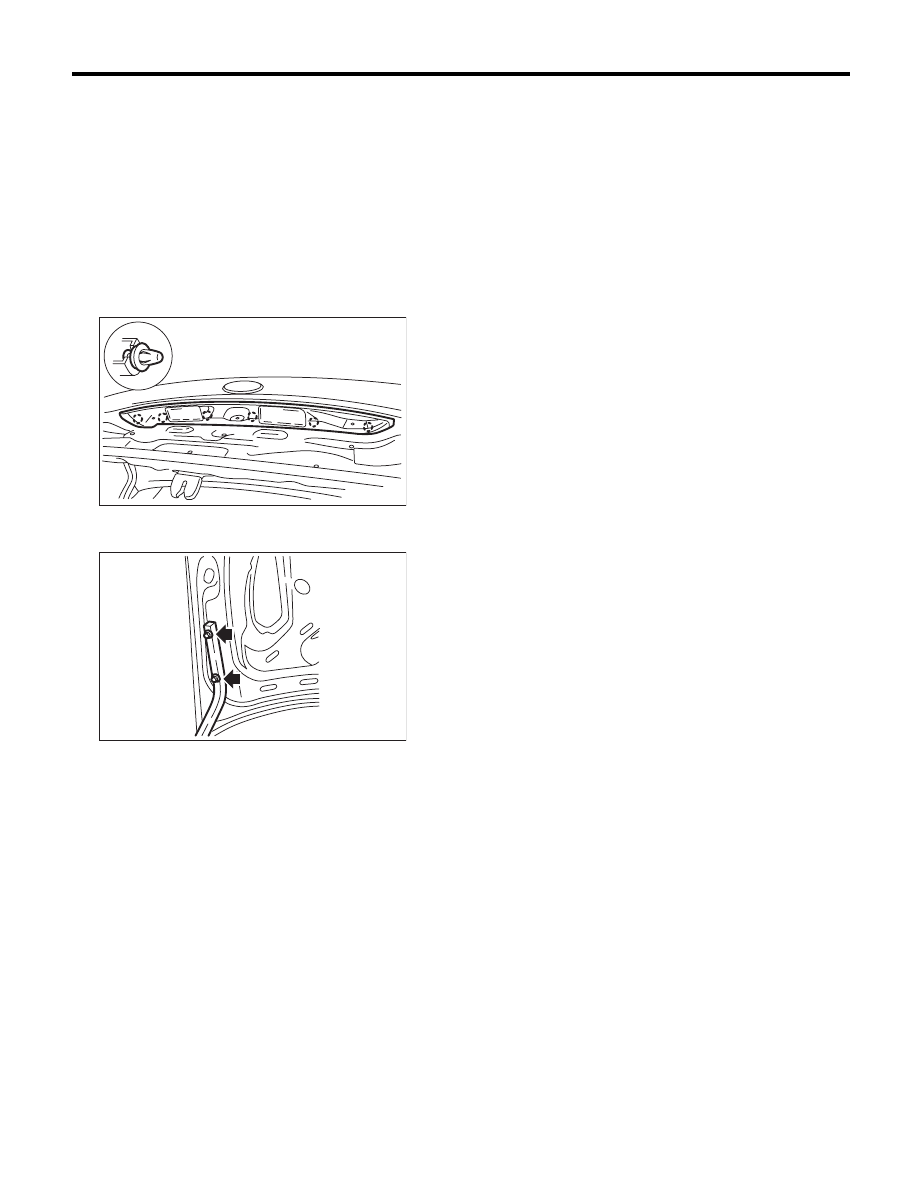
3. TRUNK LID PANEL
1) Disconnect the ground cable from battery.
2) Open the trunk lid to remove the trunk lid trim
and trunk lid arm cover. <Ref. to EI-70, TRUNK
ROOM TRIM, REMOVAL, Trunk Room Trim.>
3) Disconnect the connector to remove the trunk lid
harness.
4) Remove the trunk lid lock assembly. <Ref. to SL-
44, REMOVAL, Trunk Lid Lock Assembly.>
5) Remove the trunk lid garnish. <Ref. to EI-74,
REMOVAL, Trunk Lid Garnish.>
6) Remove the license plate light cover.
7) Remove the bolts, then remove the trunk lid pan-
el from the trunk lid arm.
B: INSTALLATION
1) Install in the reverse order of removal.
2) Apply grease to the rotating area of hinges and
the torsion bar.
3) Install while paying attention to make a uniform
clearance around the trunk lid panel. For the di-
mension of clearance, refer to “SPECIFICATION”
in “General Description”. <Ref. to EB-2, SPECIFI-
CATION, General Description.>
Tightening torque:
Refer to “COMPONENT” of “General Descrip-
tion”. <Ref. to EB-11, REAR GATE PANEL,
COMPONENT, General Description.>
EB-00159
EB-00066
EB-26
Rear Gate
EXTERIOR BODY PANELS
9. Rear Gate
A: REMOVAL
1. REAR GATE PANEL
1) Disconnect the ground cable from the battery.
2) Open the rear gate.
3) Remove the rear gate trim. <Ref. to EI-68, RE-
MOVAL, Rear Gate Trim.>
4) Remove the rear gate garnish. <Ref. to EI-75,
REMOVAL, Rear Gate Garnish.>
5) Remove the rear wiper arm. <Ref. to WW-17,
REMOVAL, Rear Wiper Arm.>
6) Remove the rear wiper motor. <Ref. to WW-18,
REMOVAL, Rear Wiper Motor.>
7) Remove the rear gate outer handle. <Ref. to SL-
42, REMOVAL, Rear Gate Outer Handle.>
8) Remove the rear gate latch assembly. <Ref. to
SL-43, REMOVAL, Rear Gate Latch Assembly.>
9) Remove the roof spoiler. <Ref. to EI-41, RE-
MOVAL, Roof Spoiler.>
10) Remove harness clip of each connector from
the rear gate panel.
11) Remove the weather strip clip (A), and remove
the rear gate panel weather strip.
NOTE:
If the weather strip clip is removed with excessive
force, the weather strip may be damaged. Be sure
to use clip remover to remove.
12) Remove the rubber duct (A) connection, and
pull out the harness and washer hose from the rear
gate.
13) Before removing the rear gate damper stay,
prevent the rear gate from closing using prop or the
like.
CAUTION:
If the prop comes off, operators may get injured
and vehicle may get damaged. Make sure to
support the rear gate with secure material to
prevent injury or damage.
14) Remove the mounting bolt of rear gate damper
stay.
EB-00162
:(A)
EB-00141
(A)
EB-00020
EB-00069
EB-00022
EB-27
Rear Gate
EXTERIOR BODY PANELS
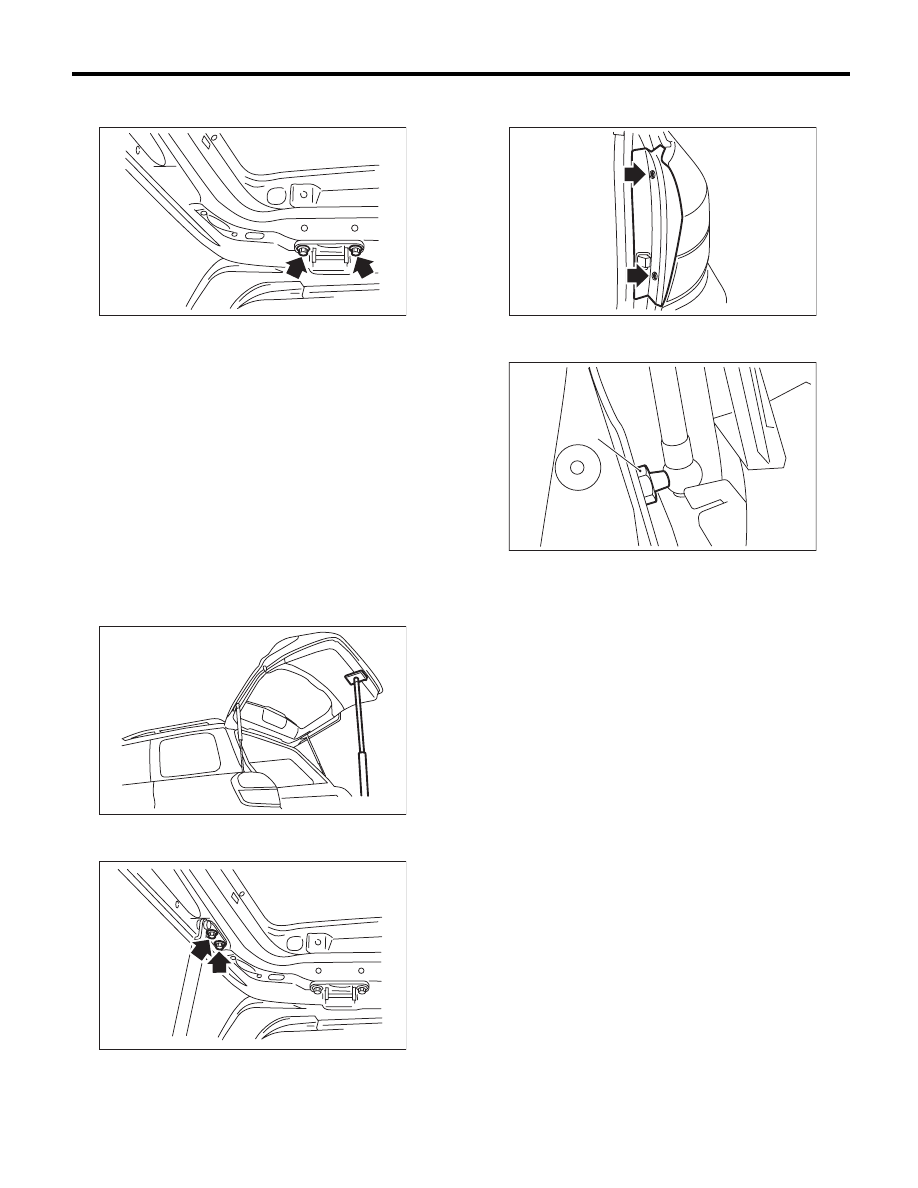
15) Remove the rear gate hinge bolt, and remove
the rear gate panel.
16) Remove the rear gate hinge from the vehicle.
2. REAR GATE DAMPER STAY
CAUTION:
• Do not damage piston rods and oil seals.
• Never disassemble cylinders: They contain
gas.
1) Open the rear gate.
2) Before removing the rear gate damper stay, pre-
vent the rear gate from closing using prop or the
like.
CAUTION:
If the prop comes off, operators may get injured
and vehicle may get damaged. Make sure to
support the rear gate with secure material to
prevent injury or damage.
3) Remove the mounting bolt of rear gate damper
stay.
4) Remove the clips and detach the rear combina-
tion light covers.
5) Remove mounting bolt (A), and remove the
damper stay.
EB-00023
EB-00069
EB-00022
LI-00295
EB-00158
(A)
Нет комментариевНе стесняйтесь поделиться с нами вашим ценным мнением.
Текст