Subaru Legacy IV (2008 year). Service manual — part 493
EX(H6DO)-7
Rear Exhaust Pipe
EXHAUST
3. Rear Exhaust Pipe
A: REMOVAL
CAUTION:
Vehicle components are extremely hot after
driving. Be wary of receiving burns from heated
parts.
1) Set the vehicle on a lift.
2) Lift up the vehicle.
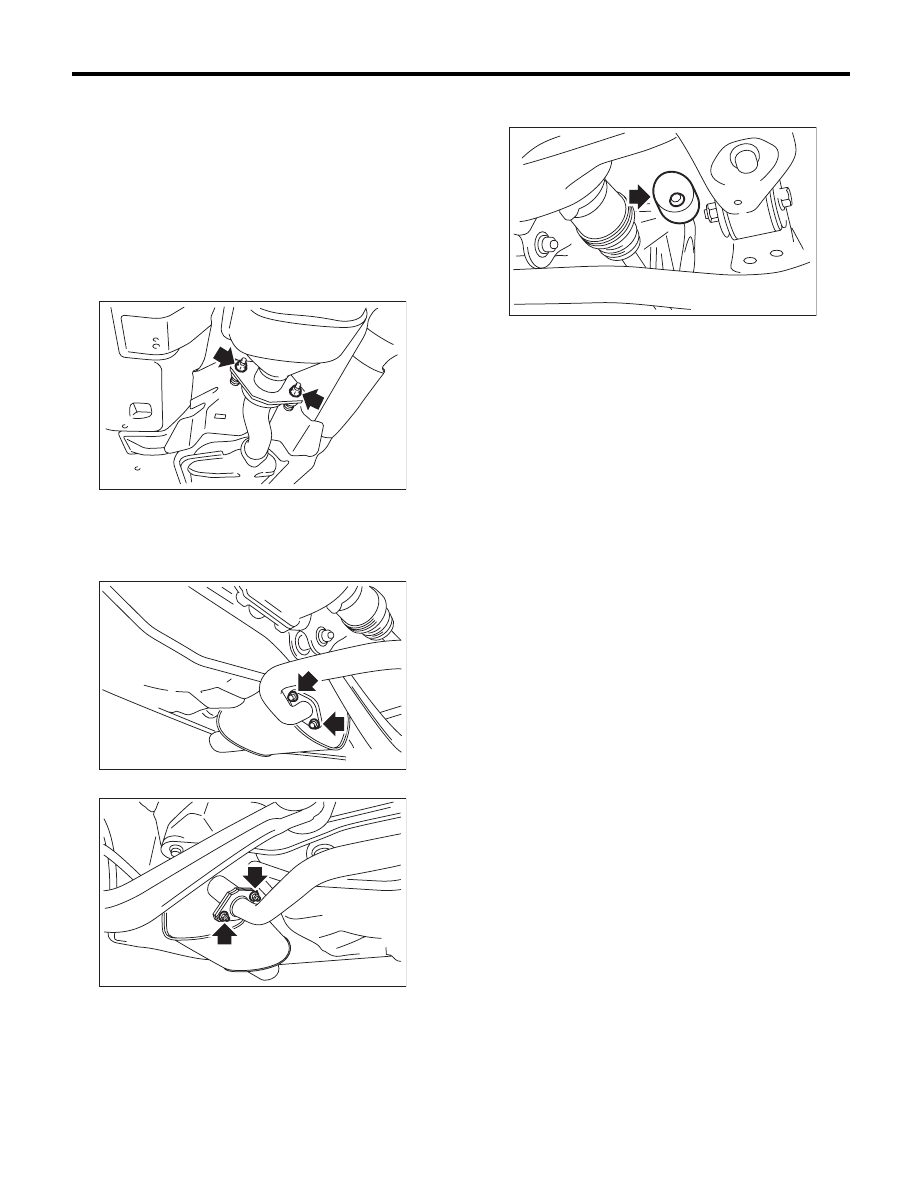
3) Separate the rear exhaust pipe from front ex-
haust pipe assembly.
4) Separate the rear exhaust pipe from muffler.
CAUTION:
Be careful not to drop the rear exhaust pipe.
• LH side
• RH side
5) Apply a coat of spray type lubricant to the mating
area of cushion rubber.
6) Remove the rear exhaust pipe bracket from
cushion rubber.
7) Remove the rear exhaust pipe.
EX-02015
EX-00222
EX-00218
EX-00219
EX(H6DO)-8
Rear Exhaust Pipe
EXHAUST
B: INSTALLATION
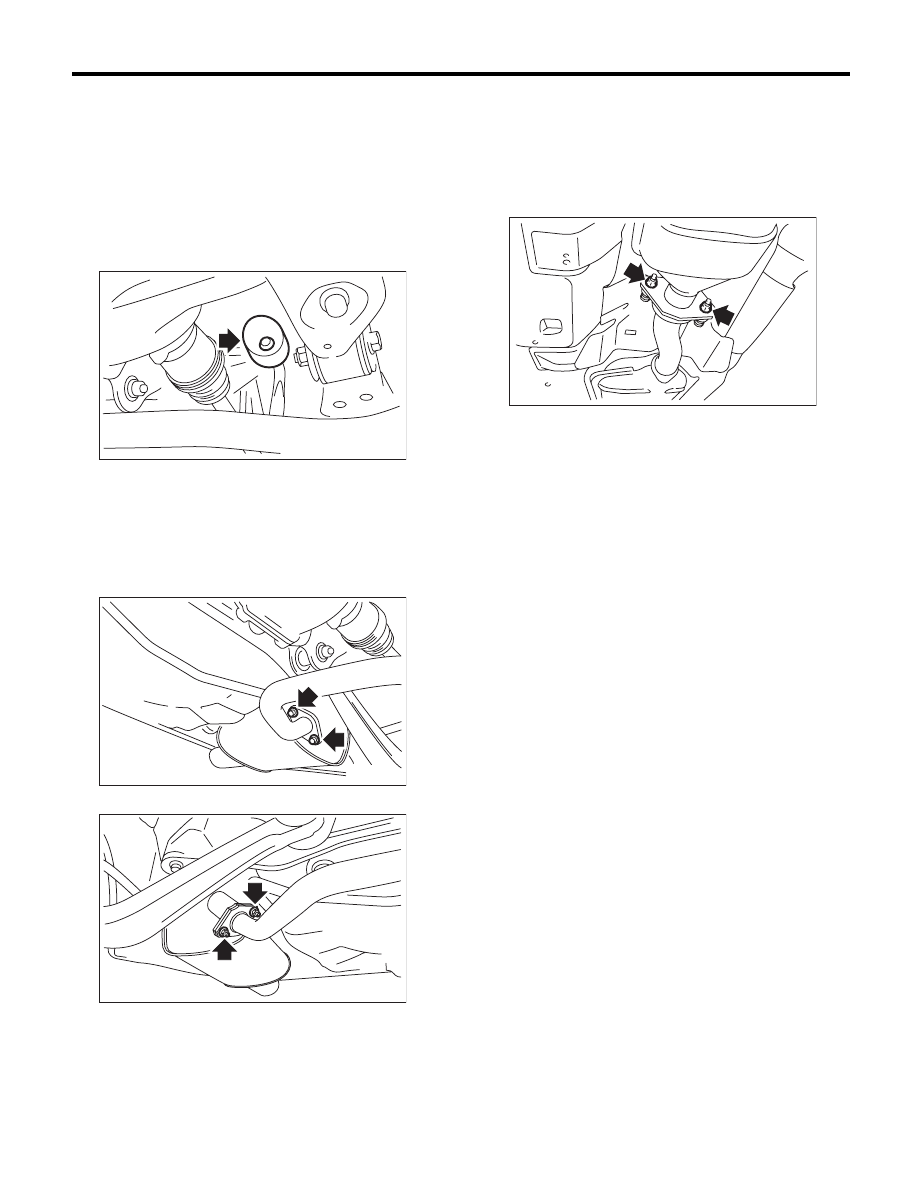
1) Apply a coat of spray type lubricant to the mating
area of cushion rubber.
2) Install the rear exhaust pipe bracket to cushion
rubber.
NOTE:
After assembling, degrease the lubricant which
was applied to the cushion rubber while removing/
installing.
3) Install the rear exhaust pipe to muffler.
NOTE:
Use a new gasket and self-locking nut.
Tightening torque:
48 N·m (4.9 kgf-m, 35.4 ft-lb)
• LH side
• RH side
4) Install the rear exhaust pipe assembly to center
exhaust pipe.
NOTE:
Use a new gasket.
Tightening torque:
18 N·m (1.8 kgf-m, 13.3 ft-lb)
5) Lower the vehicle.
C: INSPECTION
1) Check the connections and welds for exhaust
leaks.
2) Make sure there are no holes or rusting.
3) Check the cushion rubber for wear or crack.
EX-00219
EX-00222
EX-00218
EX-02015
EX(H6DO)-9
Muffler
EXHAUST
4. Muffler
A: REMOVAL
CAUTION:
Vehicle components are extremely hot after
driving. Be wary of receiving burns from heated
parts.
1) Set the vehicle on a lift.
2) Lift up the vehicle.
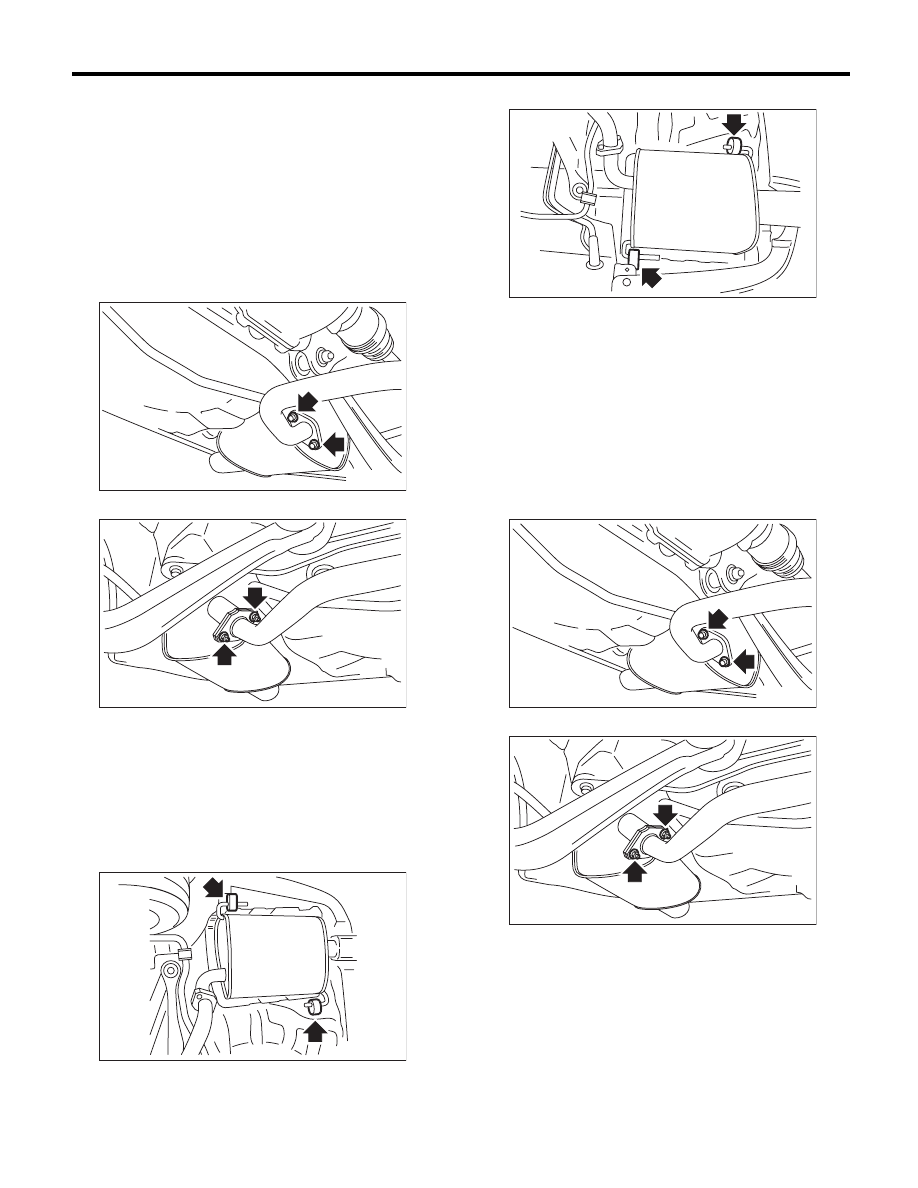
3) Separate the muffler from rear exhaust pipe.
• LH side
• RH side
4) Apply a coat of spray type lubricant to the mating
area of cushion rubber.
5) Remove the front and rear cushion rubber, and
then remove the muffler.
CAUTION:
Be careful not to drop the muffler during remov-
al.
• LH side
• RH side
B: INSTALLATION
Install in the reverse order of removal.
NOTE:
• Use a new gasket and self-locking nut.
• After assembling, degrease the lubricant which
was applied to the cushion rubber while removing/
installing.
Tightening torque:
48 N·m (4.9 kgf-m, 35.4 ft-lb)
• LH side
• RH side
C: INSPECTION
1) Check the connections and welds for exhaust
leaks.
2) Make sure there are no holes or rusting.
3) Check the cushion rubber for wear or crack.
EX-00222
EX-00218
EX-00220
EX-00221
EX-00222
EX-00218
EX(H6DO)-10
Muffler
EXHAUST
Нет комментариевНе стесняйтесь поделиться с нами вашим ценным мнением.
Текст